XTOOL PAD3 & KC501 Add New Infrared Key for Benz by OBD
Chinaobd2 is a leading supplier of all kinds of
Car Diagnostic Tool,
Truck Diagnostic Tool,
OBD2 Code Reader,
Car Key Programmer,
ECU Chip Tunning,etc. Currently, the top selling product including:
VCDS VAG COM Cable,
iProg+ Programmer,
Scania VCI3

This instruction show you guide on how to use XTOOL PAD3 and KC501 adapter to do new key programming for Mercedes Benz.In this example you need have a original working key.
 What Devices You Need?
XTOOL PAD3 Programmer
What Devices You Need?
XTOOL PAD3 Programmer (Amazon) or
XTOOL PAD3 (UOBD2)
KC501 adapter need buy extra.
Procedures:
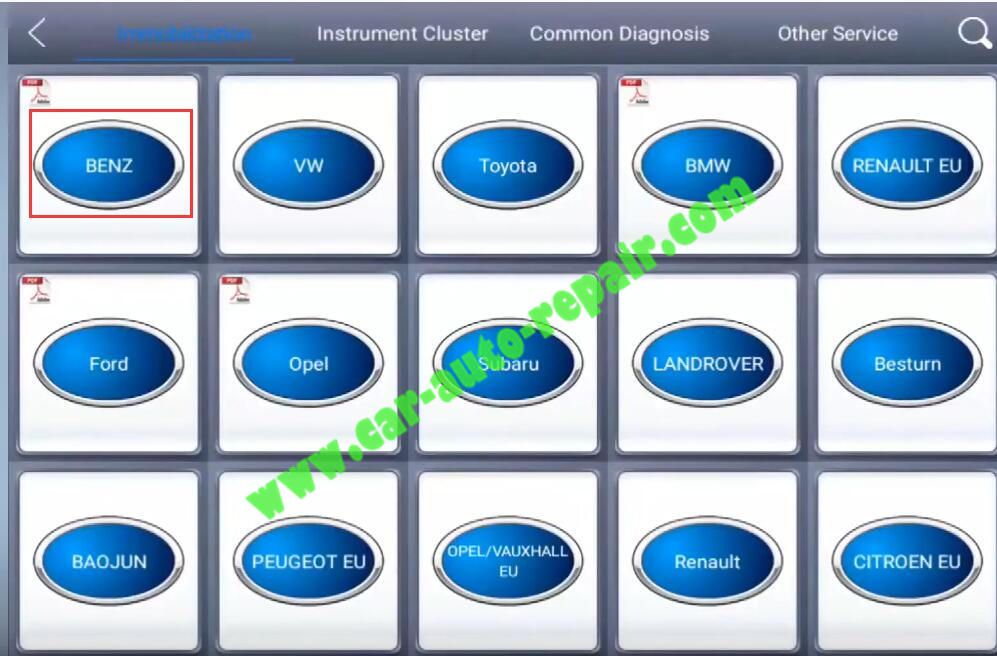
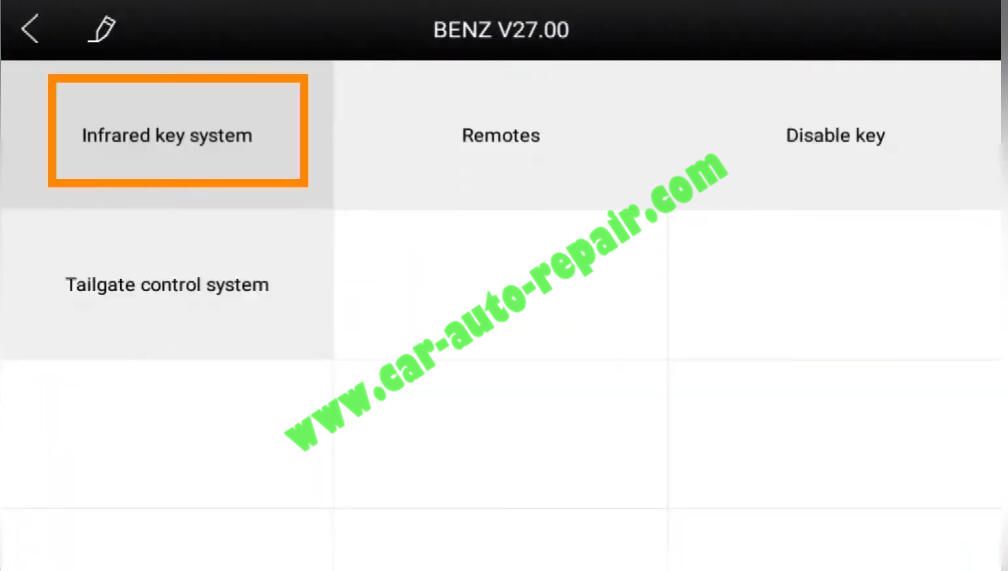
Connect XTOOL PAD3 to WIFI network,then enter main menu to select “BENZ”
Select “Infrared key system”
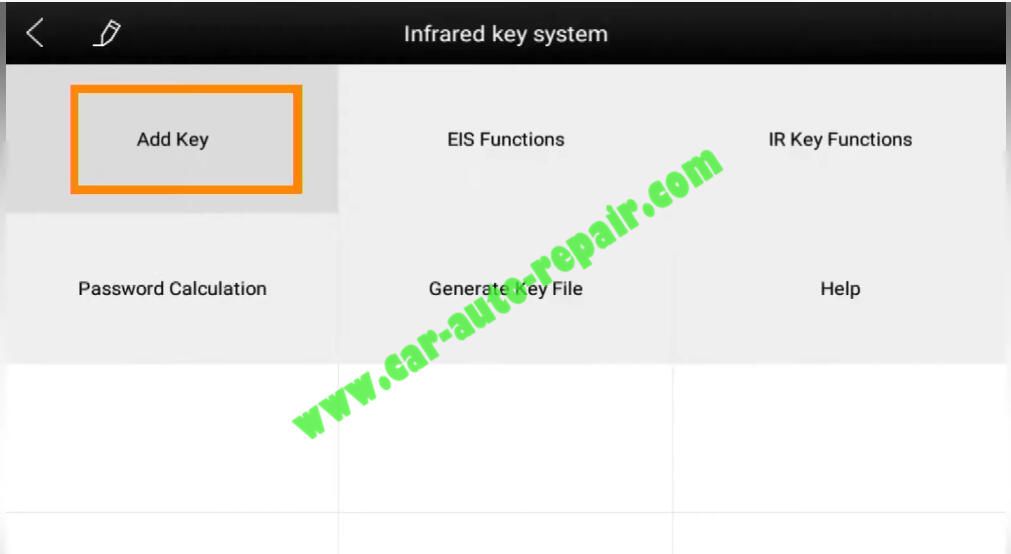
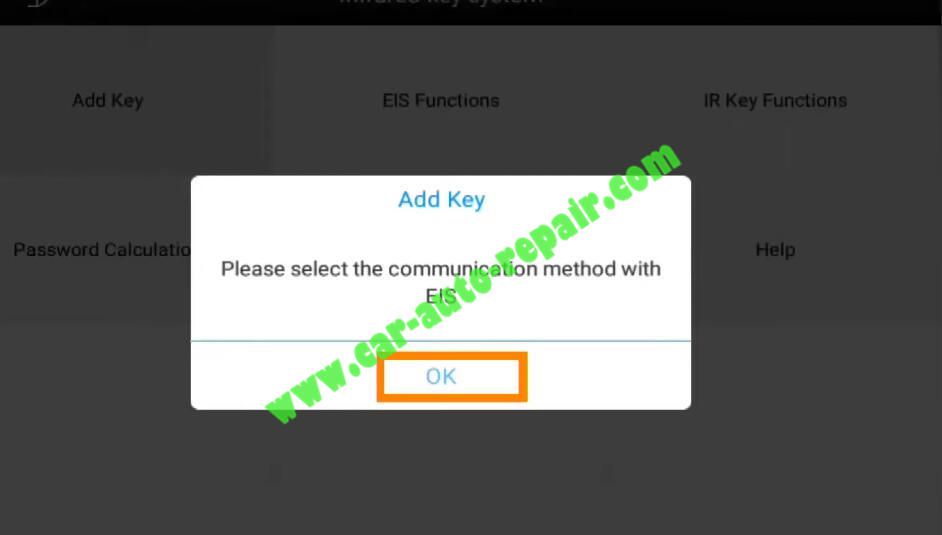
Select “Add Key”
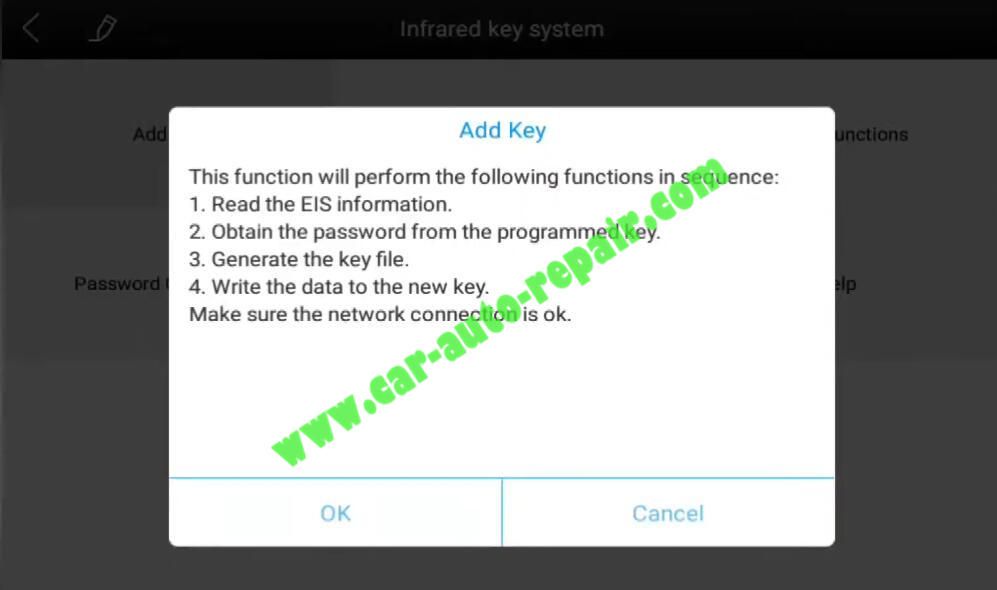
This function will perform the following functions in sequence:
1.Read the EIS information
2.Obtain the password from the programmed key
3.Generate the key file.
4.Make sure the network connection is ok.
Press “OK” to continue.
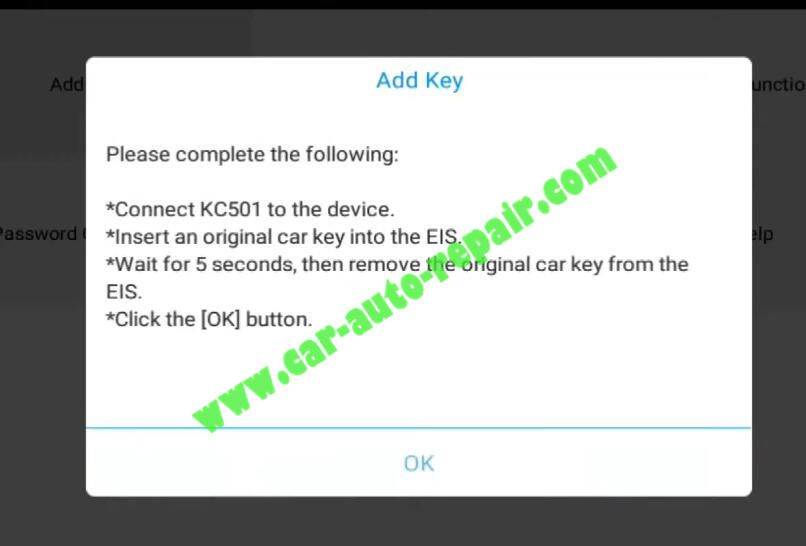
Please complete the following:
-Connect KC501 to the device
-Insert an original car key into the EIS.
-Wait for 5 seconds,then remove the original car key from the EIS.
-Click the “OK” button
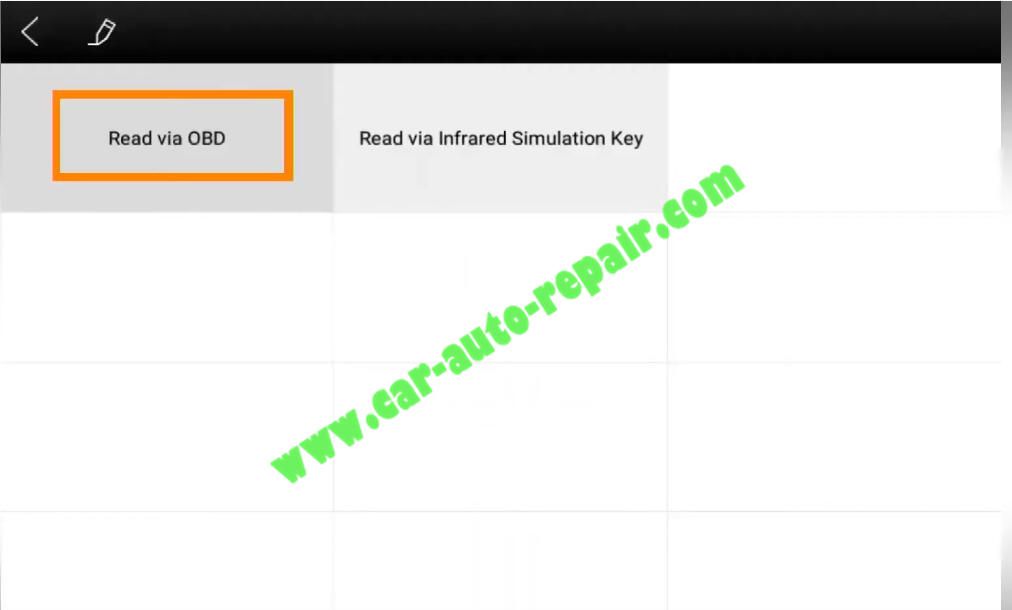
Press “OK” to select communication method with EIS
Select “Read via OBD”
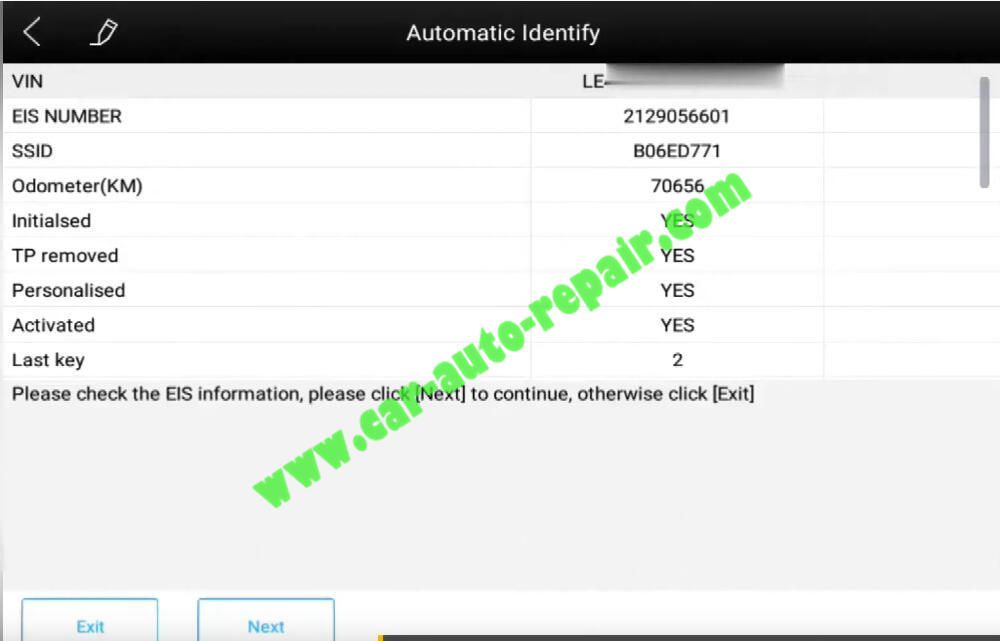
Select “Automatic Identify”

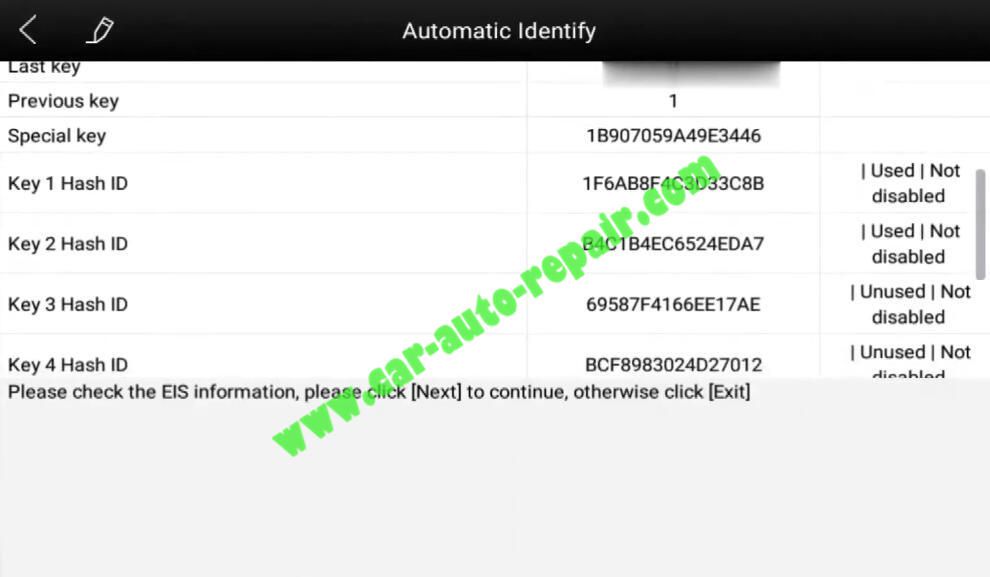
Now here EIS information read
Please check the EIS information,please click “Next” to continue.
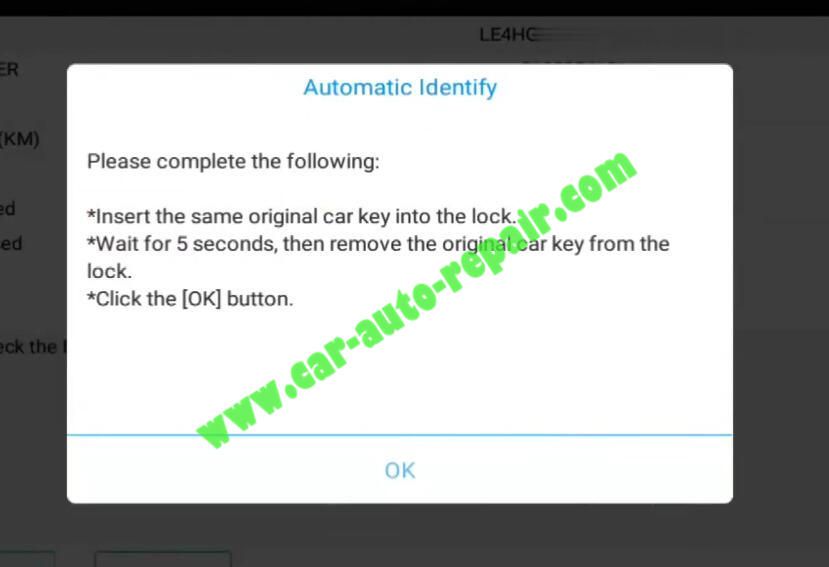
Now please complete the following:
Insert the same original car key into the lock
Wait for 5 seconds,then remove the original car key from the lock
Click the “OK” button
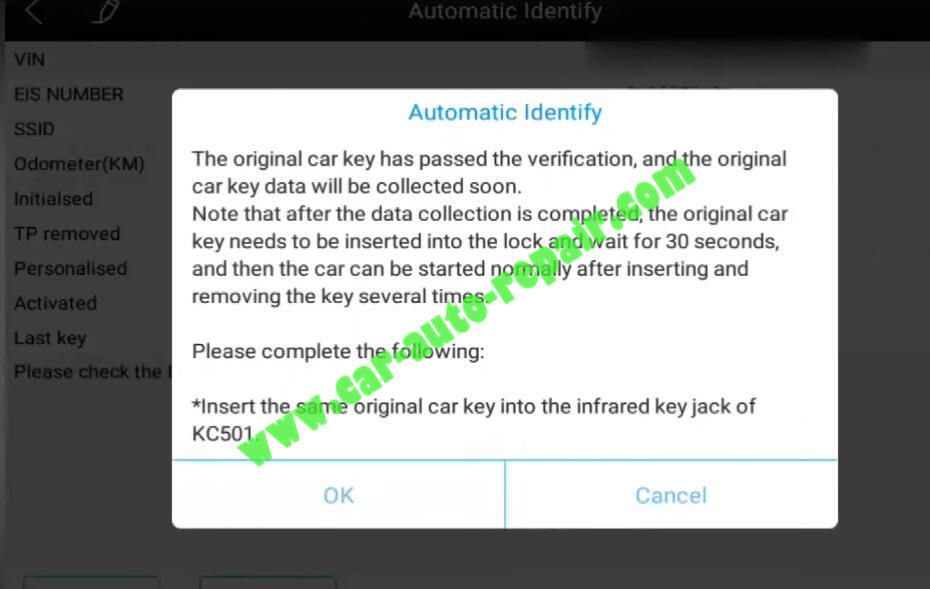
The original car key has passed the verification,and the original car key data will be collected soon.
Note that after the data collection is completed,the original car key needs to be inserted into the lock and wait for 30 seconds,and then the car can be started normally after inserting and removing the key several times.
Please complete the following:
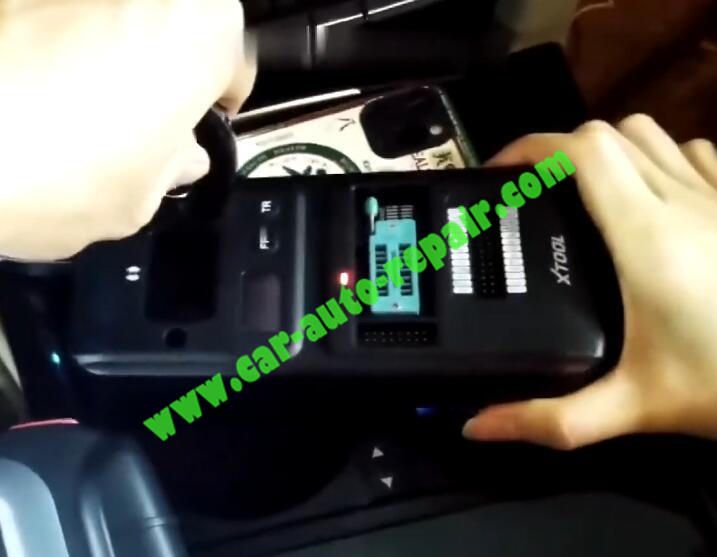
Insert the same original car key into the infrared key jack of KC501
It will take about 5-15 minutes to collect data,please wait.
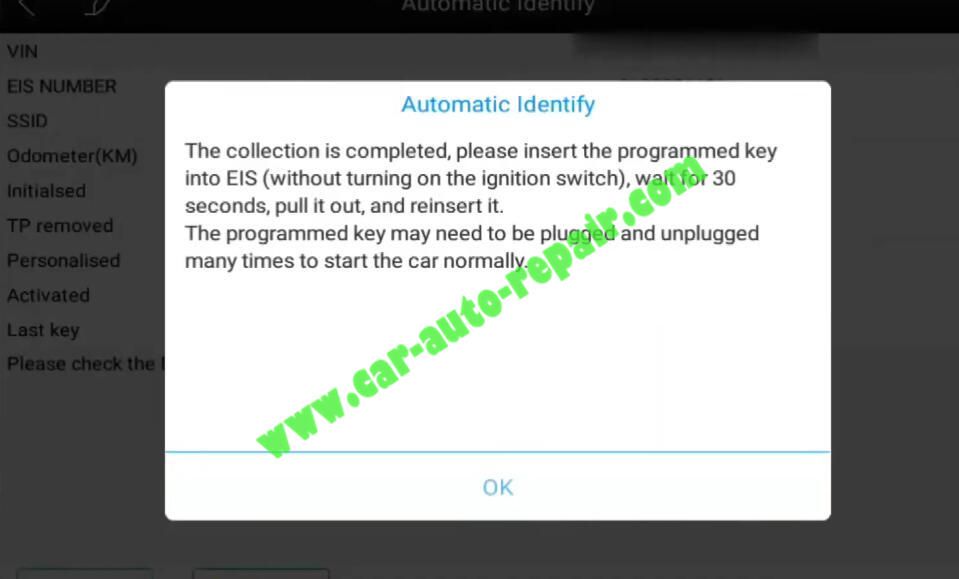
The collection is completed,please insert the programmed key into EIS (without turning on the ignition switch),wait for 30 seconds,pull it out,and reinsert it.
The programmed key may need to be plugged and unplugged many times to start the car normally.
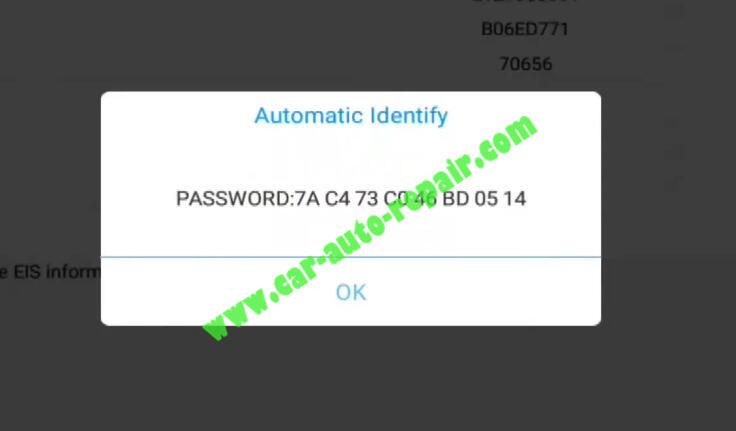
Obtained the password successfully from the original key
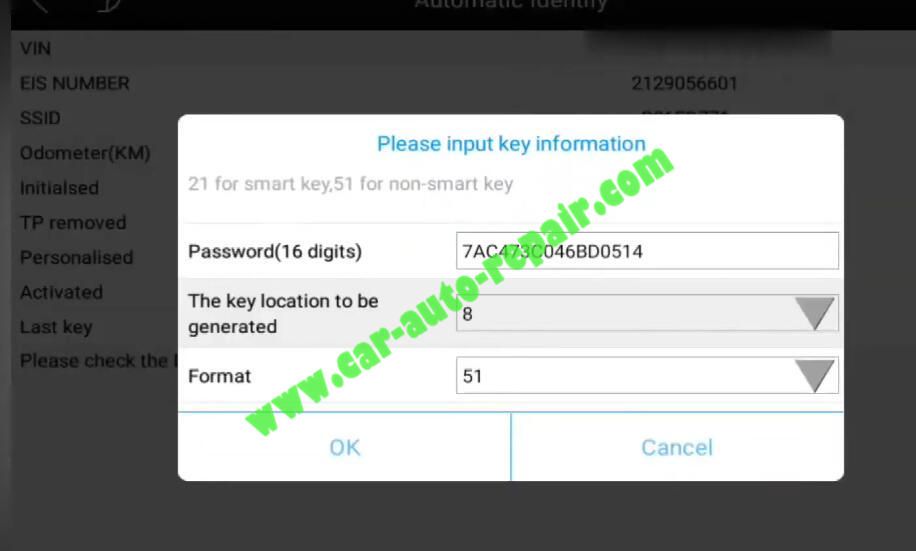
Choose and input a key location to be generated.
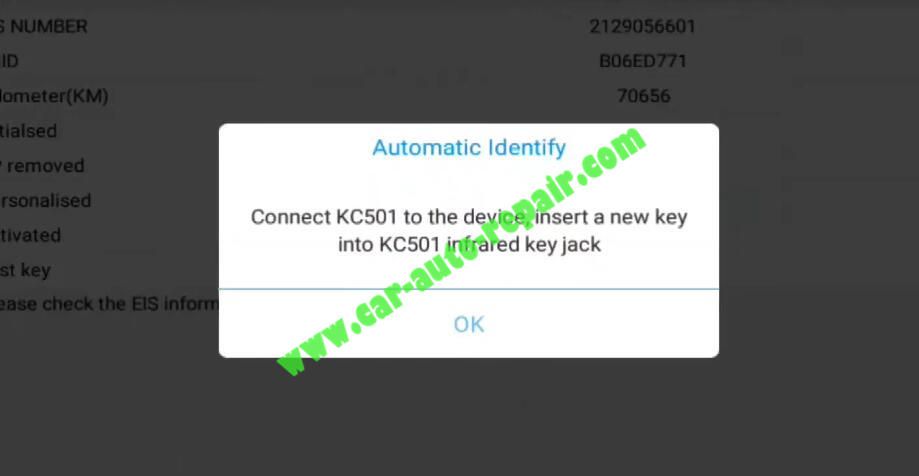
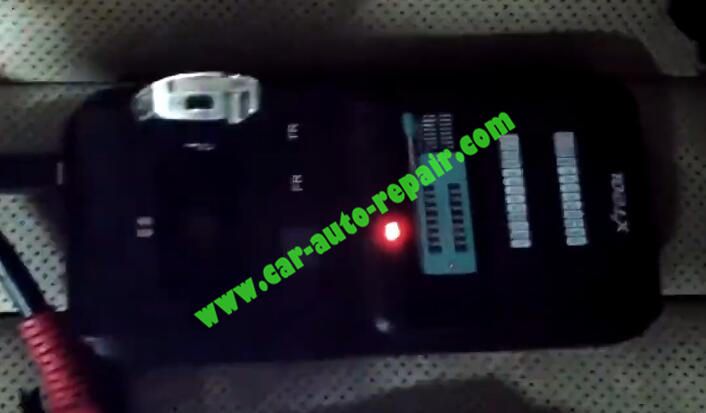
Connect KC501 to the device,insert a new key into KC501 infrared key jack.
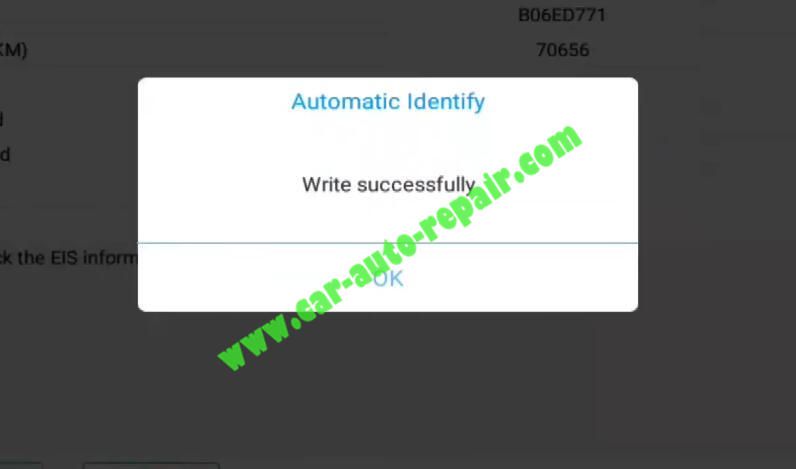
Write successfully
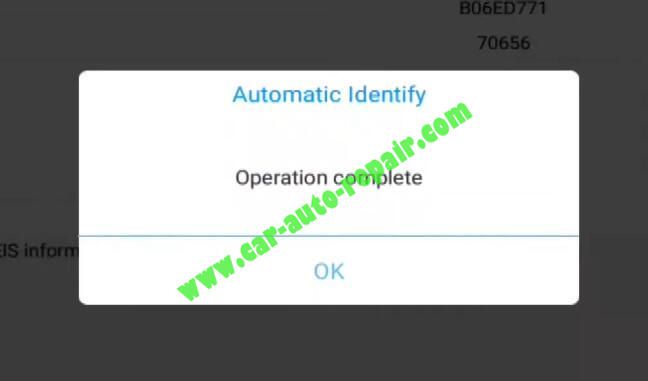
Now check the new key to see if it can start the car normally.
(Need to insert and remove the key for several times)
This article tech Supported by
China OBD2,