Original Cummins Insite 8.2.1.155 Installation Instructions
Chinaobd2 is a leading supplier of all kinds of Car Diagnostic Tool, Truck Diagnostic Tool, OBD2 Code Reader, Car Key Programmer,ECU Chip Tunning,etc. Currently, the top selling product including: VCDS VAG COM Cable, iProg+ Programmer, Scania VCI3
This post focus on how to install original Cummins Insite software on your laptop.And this cummins insite installation instructions compatible to insite 8.2.1.155 or later versions.
Note: It is recommended to ensure that Microsoft .NET Framework 4.5.2 or greater is installed prior to starting the INSITE installation. Windows 8.1 and Windows 10 will have Microsoft .NET Framework 4.5.2 or greater installed by default or after all the Windows updates have been run.
Newest Cummins Insite 8.4.1 Free Download
Procedures:
1.Open up a web browser and go to the website at insite.cummins.com:

2.Click on Products & Downloads and select INSITE in the drop down menu:

3.Scroll down until you find the zip file for the latest version of INSITE, in this case INSITE 8.2.1.zip, click on it, and save it to the default Downloads folder. (The name will change depending on the INSITE version downloaded).
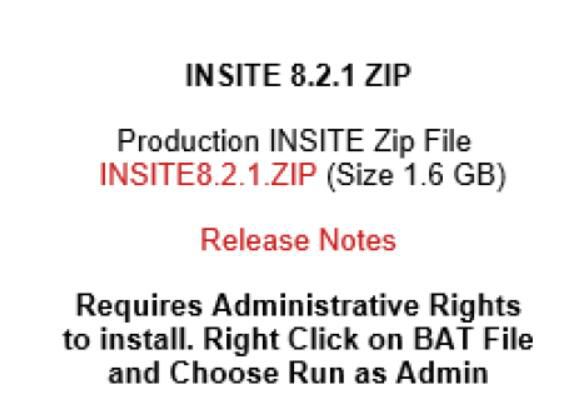
P.S. If you want to download the complete DVD image, you can also download the iso file for the latest version of INSITE. In this case it would be the INSITE8.2.1.ISO file.
4.Once downloaded into the specified folder, it will show up as zip file (the name will change depending on the INSITE version downloaded):

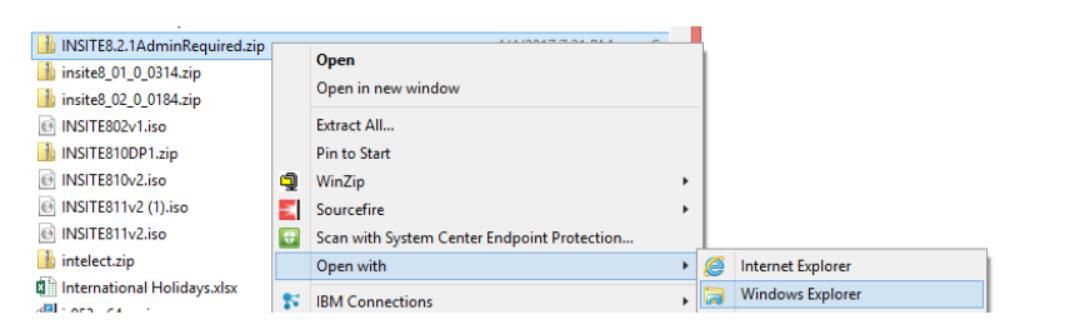
5.Right-click on the file and unzip it to the C:\Temp folder using Windows Explorer or any installed software to decompress zip files:
6.Highlight the file and click on Extract All or Extract:

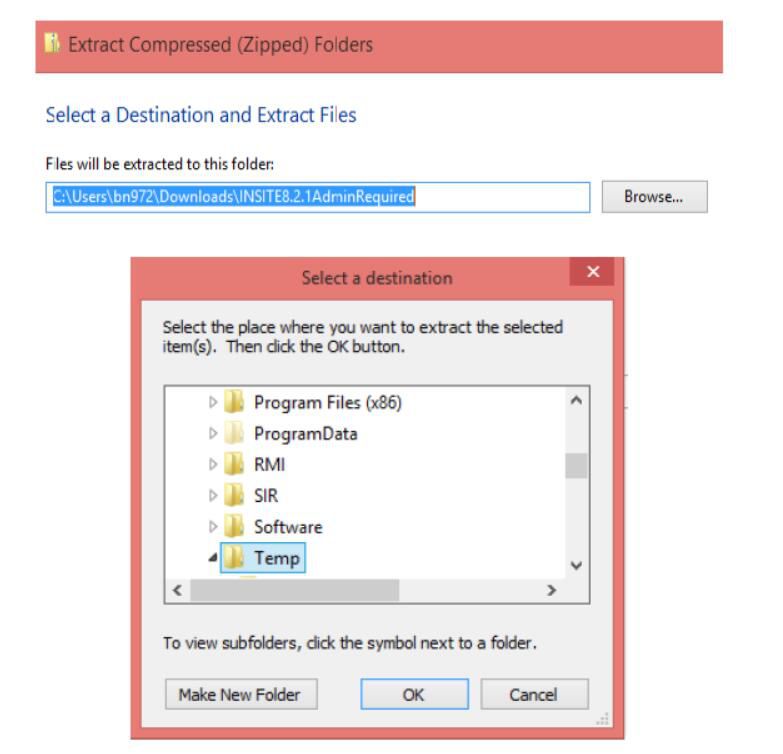
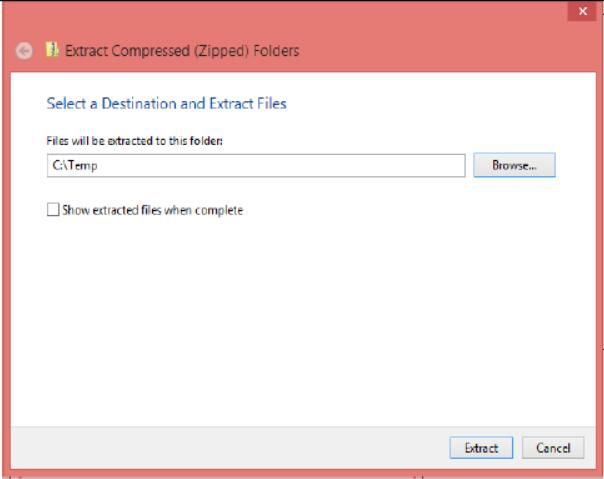
7.Click on Browse to select the Destination folder C:\Temp to which to extract the file. Click on Extract to extract the file to the C:\Temp folder:
8.Go to the C:\Temp folder, find the unzipped folder and open it:
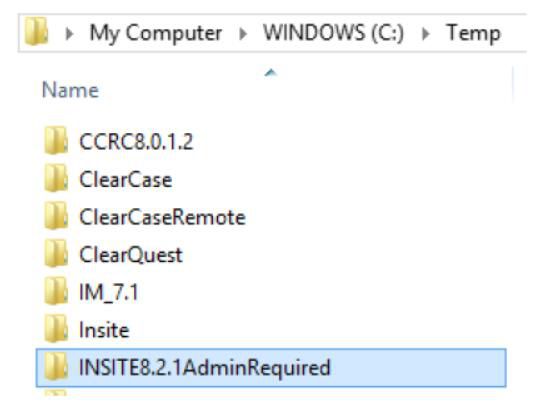
9.Find the InstallINSITE.bat batch file in the unzipped folder, INSITE8.2.1AdminRequired folder in this case, right click on it and Run as administrator to run it:
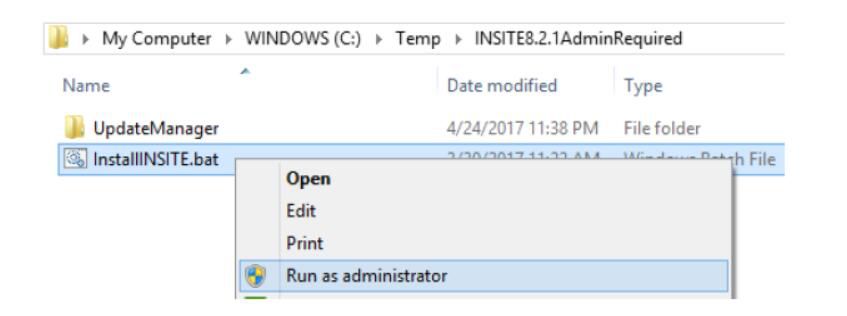
10.Approve the User Account Control prompt, if you do not have administrative rights.
11.A command prompt window will open up.
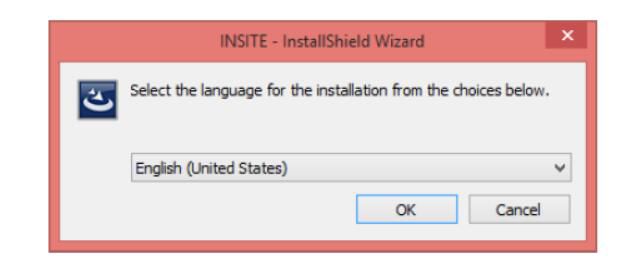
12.In the InstallShield Wizard language selection prompt, select the appropriate language, and then click on OK:
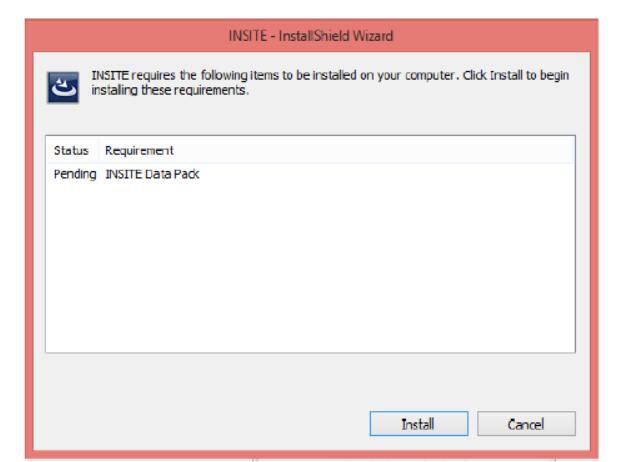
13.Click on the Install button to start the INSITE Data Pack installation:
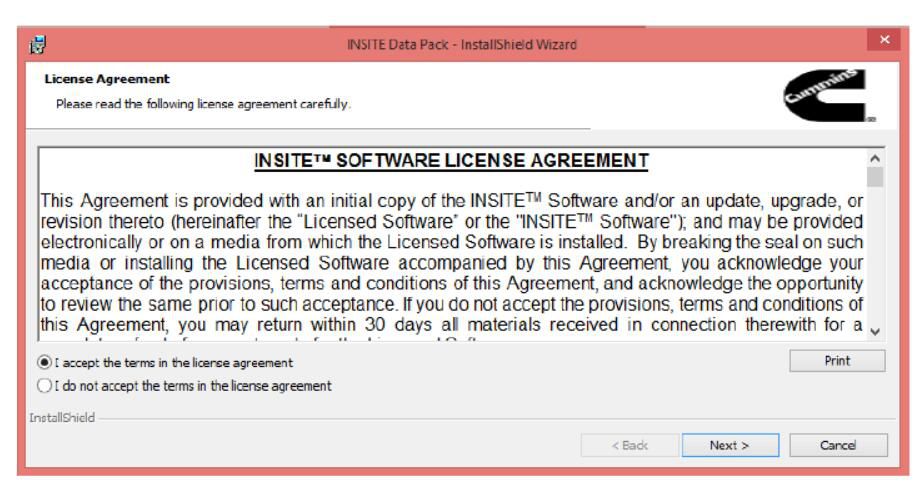
14.In the License Agreement window select the “I accept the terms in the license agreement” and then click on Next.
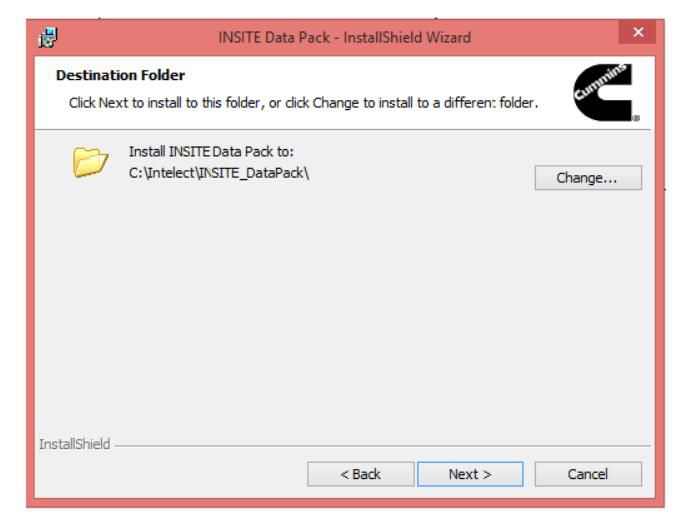
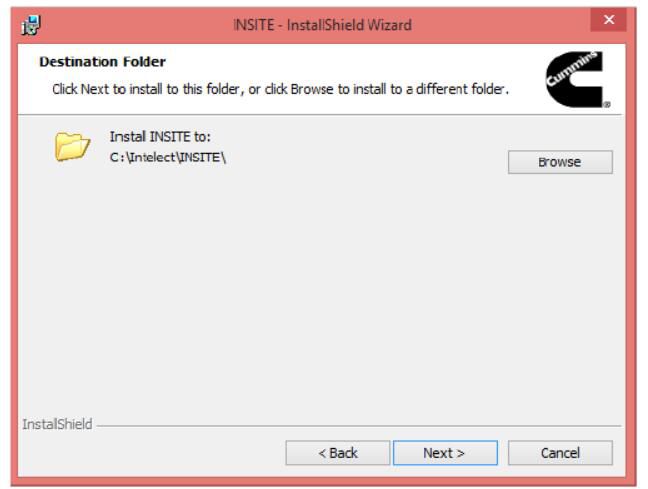
15.In the Destination Folder window, keep the default folder and click on Next:
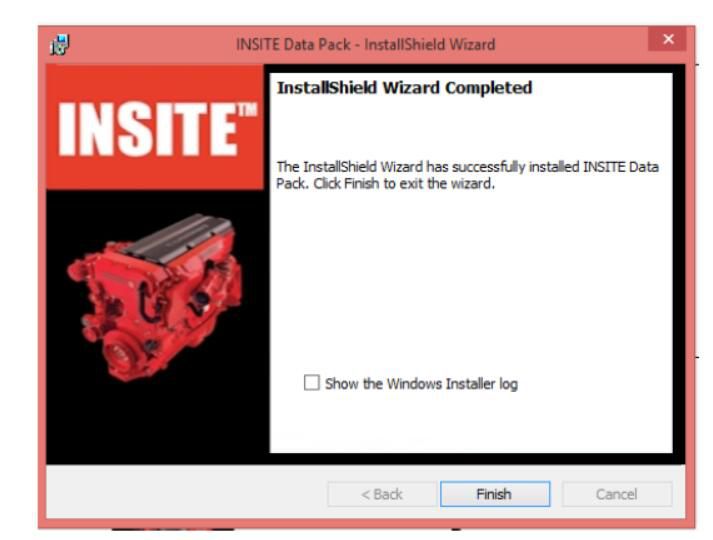
16.After the INSITE Data Pack has been installed, click on Finish in the InstallShield Wizard Completed screen:
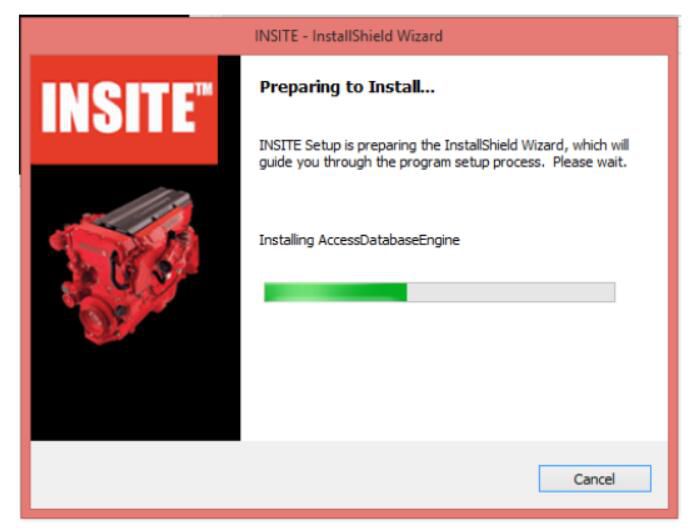
17.If the AccessDatabaseEngine is not yet installed, you will see a status update of its installation:
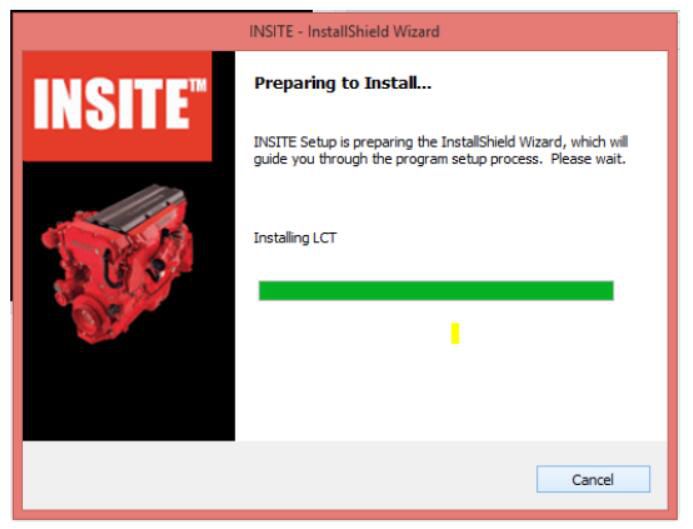
18.Next, you will see a status update on the installation of the INSITE CSS Service, ToolLicensingService, and LCT:
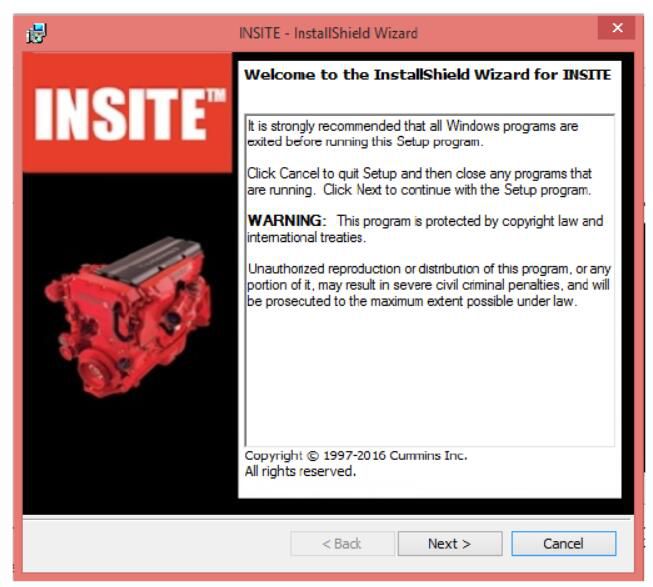
19.After all required installations are complete, click on the Next button in the InstallShield Wizard for INSITE screen:
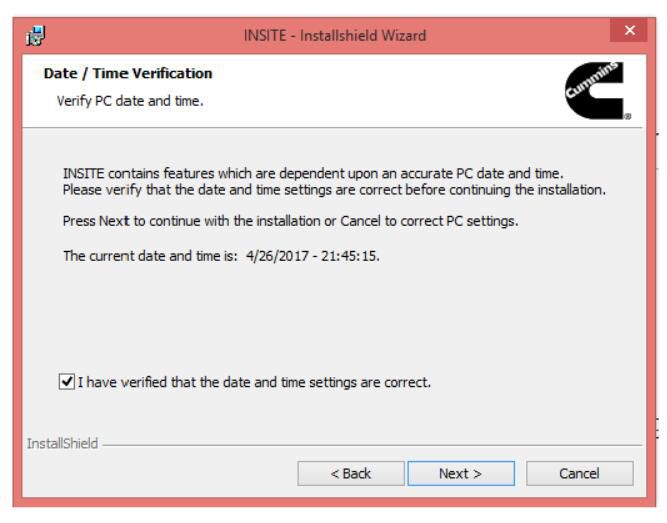
20.You will be asked to verify the date/time. If the date/time is correct, place a check mark in the checkbox “I have verified that the date and time settings are correct.” Then, click on Next:
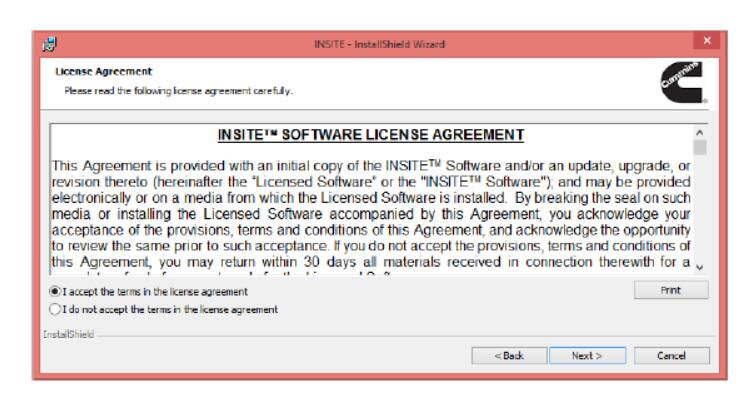
21.Select the radio button “I accept the terms in the license agreement” to accept the INSITE Software License Agreement. Click on Next:
22.Click on Next to accept the default INSITE installation folder:
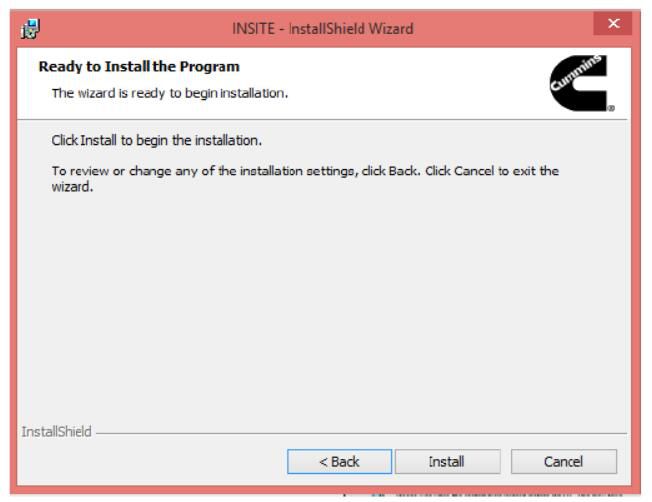
23.Click on Install to begin the INSITE installation:
24.During the installation, you will see a status update for the INSITE installation:

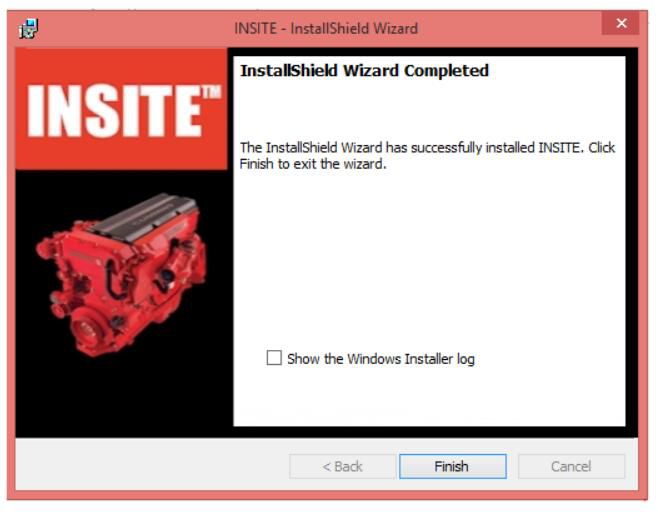
25.When the INSITE installation is complete, click on Finish in the InstallShield Wizard Completed screen:
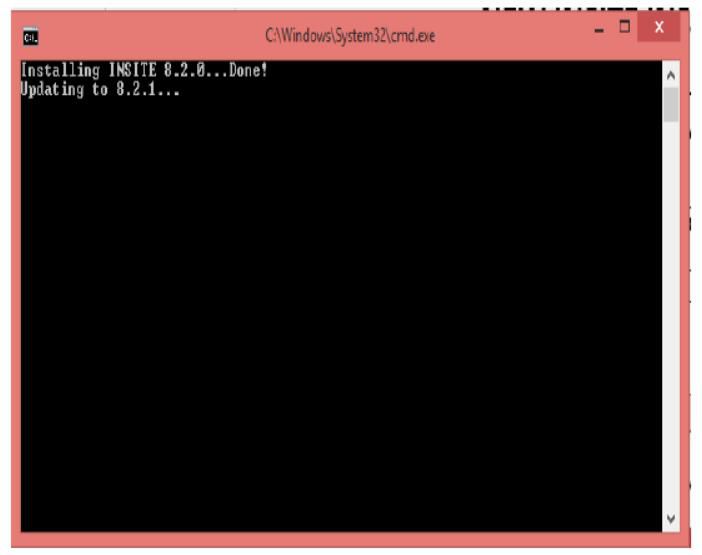
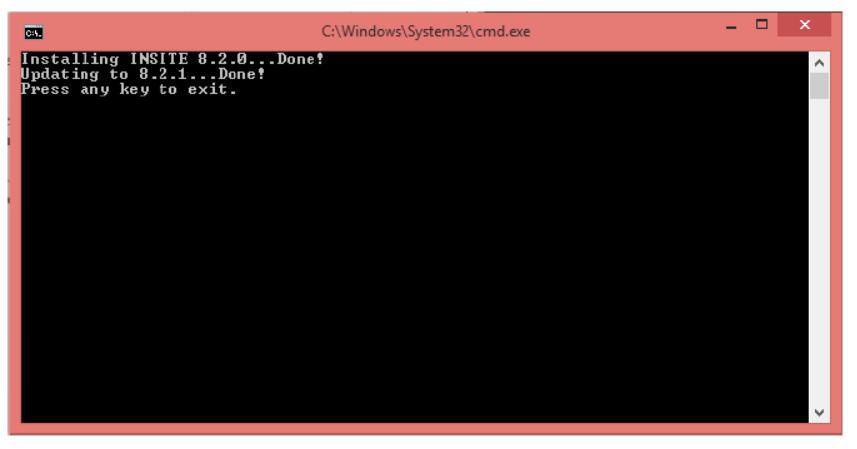
26.After the INSITE 8.2.0 installation is complete, the command prompt window will show you the update to INSITE 8.2.1 (and other INSITE versions, if applicable):
27.Wait until all the updates are complete which is indicated in the command prompt window with the prompt to press any key to exit.
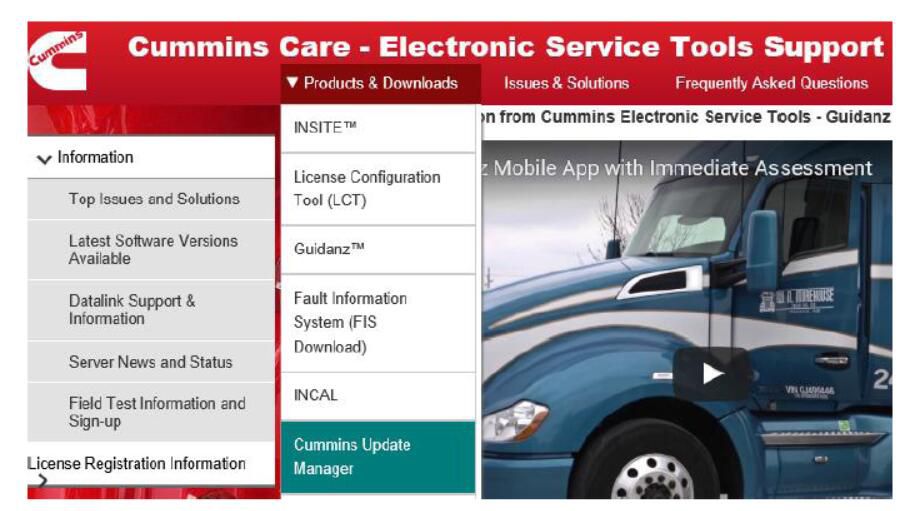
28.Open up a web browser and go to the website at insite.cummins.com:

29.Click on Products & Downloads and select Cummins Update Manager in the drop down menu:
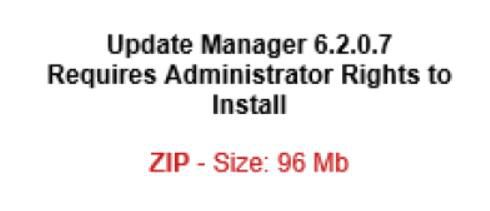
30.Find the zip file for the latest version of Cummins Update Manager, click on it, and save it to the default Downloads folder (the name will change depending on the version of Cummins Inc. Update Manager available for download):
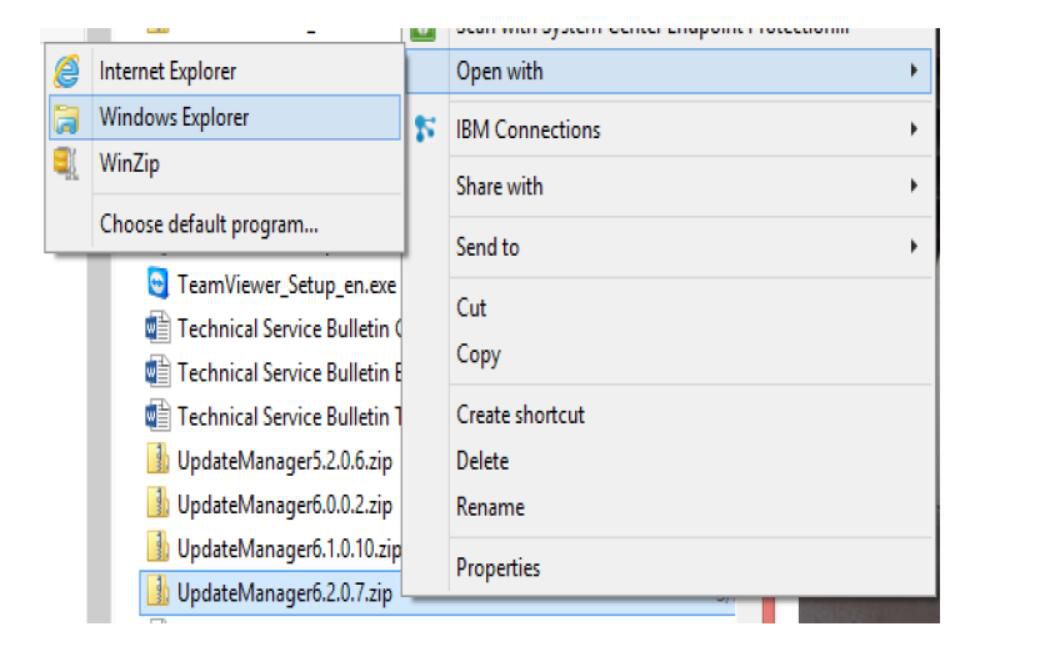
31.Once downloaded into the specified folder, it will show up as zip file (the file name will change depending on the Cummins Update Manager version downloaded):

32.Right-click on the file and unzip it using Windows Explorer or any installed software to decompress zip files:
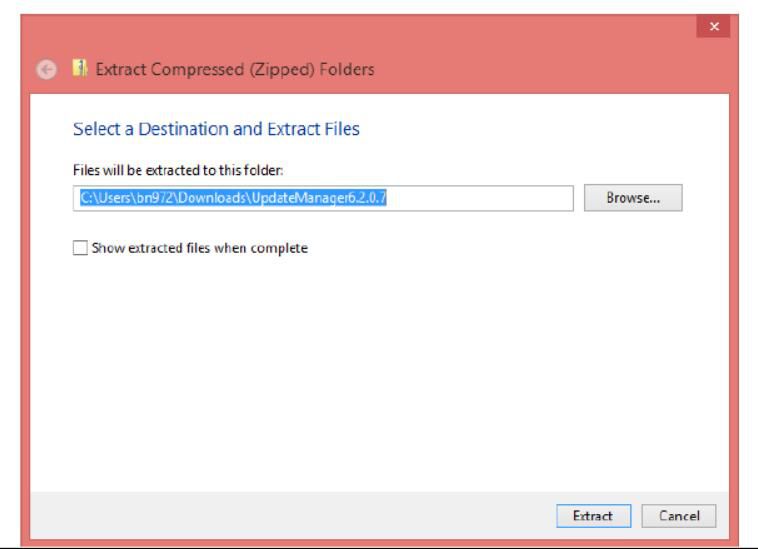
33.Highlight all files and click on Extract All:
34.Select the Destination folder to which to extract the files:
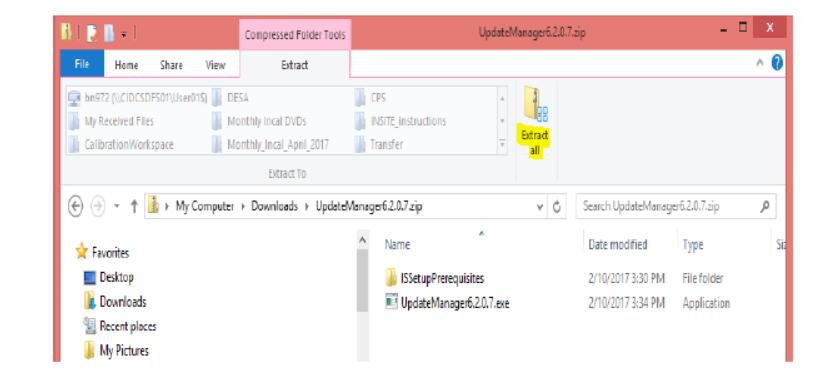
35.Find the unzipped folder and open it (the file name will change depending on the Cummins Inc. Update Manager version downloaded):

36.Find the .exe application file of the current Cummins Update Manager in the extracted folder and double click on it:

37.Approve the User Account Control prompt, if you do not have administrative rights.
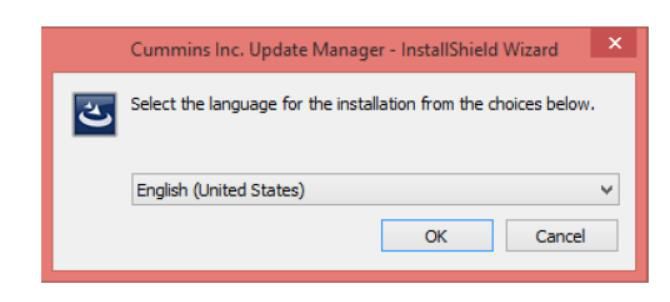
38.In the InstallShield Wizard language selection prompt, select the appropriate language, and then click on OK:
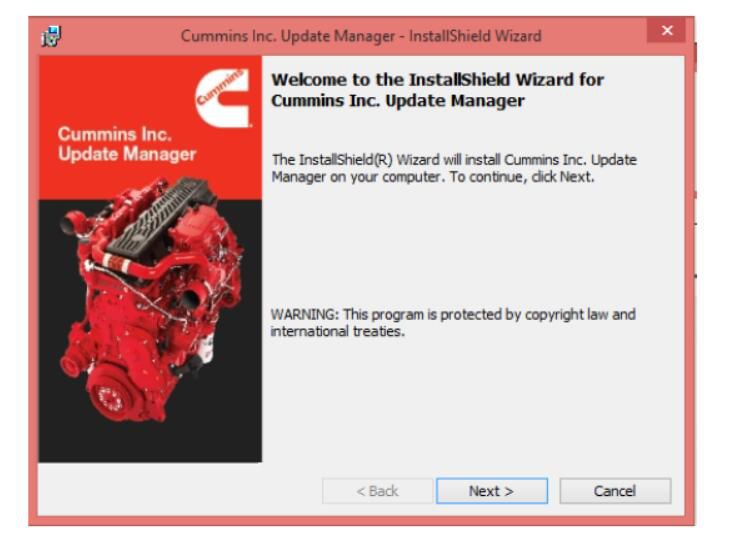
39.In the following InstallShield Wizard screen, click on Next:
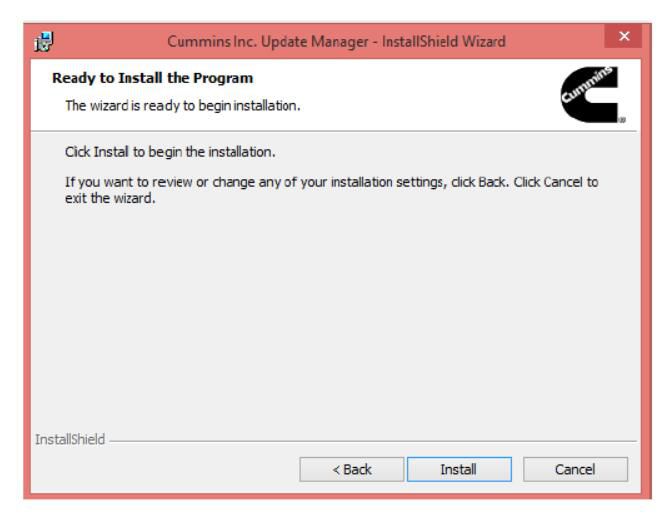
40.In the following Installation screen, click on Install to start the installation:
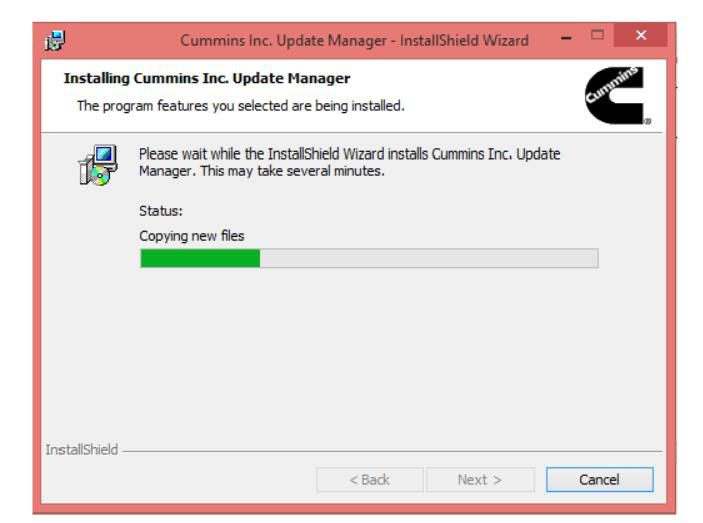
41.During the installation, you will see a status update for the Cummins Inc. Update Manager installation:
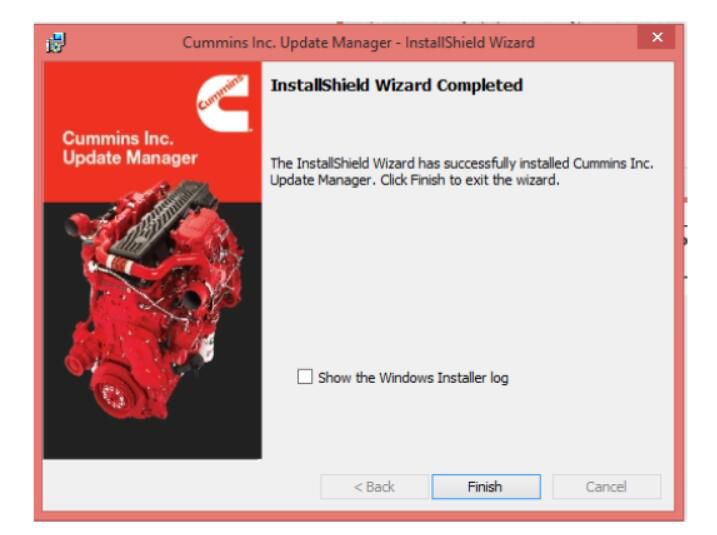
42.Once the installation is complete, click on Finish in the InstallShield Wizard Completed screen:
43.Start the Cummins Inc. Update Manager from a shortcut on the desktop or open INSITE, go to Help Check for Updates. Then close INSITE, but leave the Cummins Inc. Update Manager open.
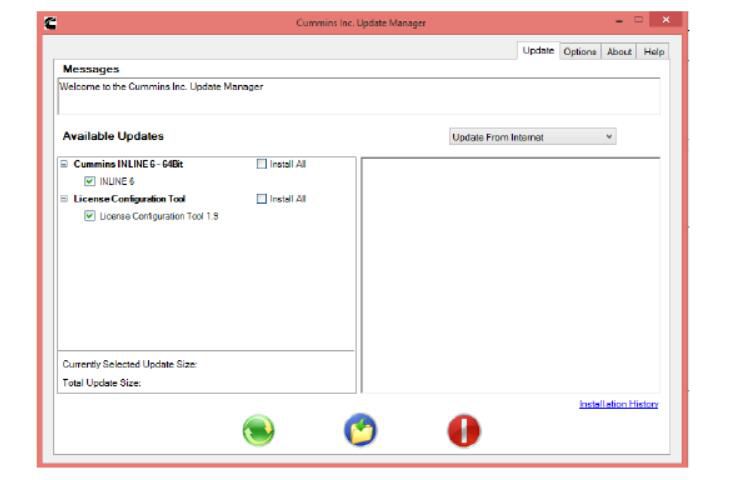
44.In the Cummins Inc. Update Manager, click on the left green button to Refresh Updates:
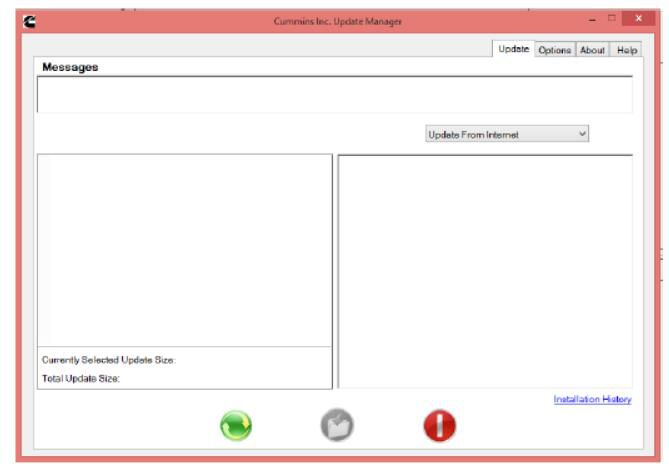
45.If there are any updates to install, click on the middle blue button with yellow file folder to Install Updates:
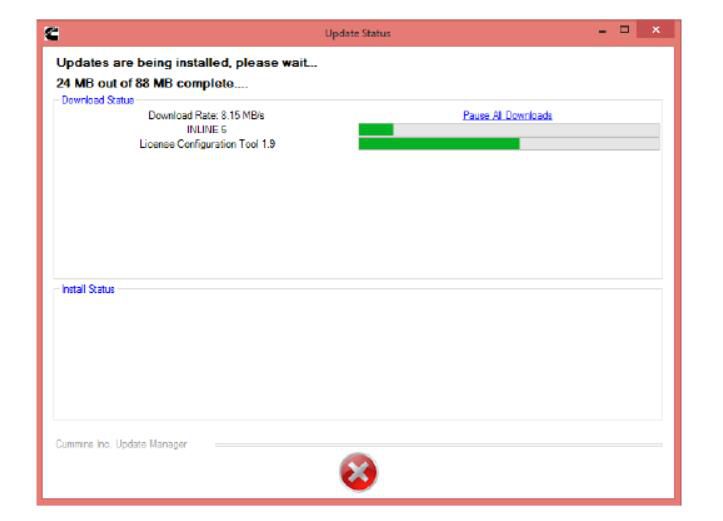
46.The Update Manager will show the progress of the installation of any software and/or files:
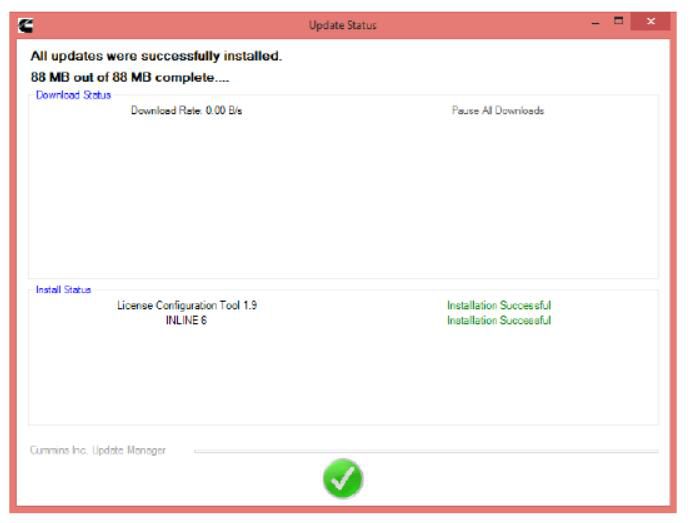
47.Once the updates are complete, click on the green check mark:
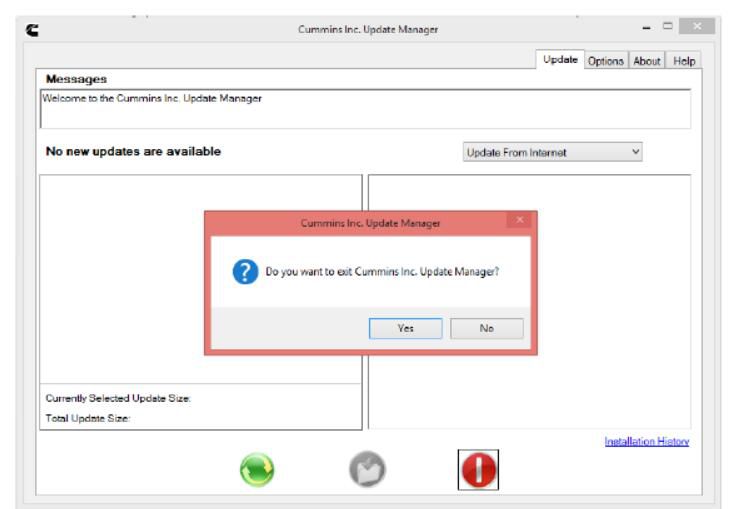
48.You may have to repeat steps 44– 47 until all updates are installed at which point it will tell you that No new updates are available:

49.Click on the right hand red Exit button and select Yes to exit the Cummins Inc. Update Manager:
50.Find the Cummins INSITE icon on the desktop and double click on it. If you have not already done so, please contact your local Cummins distributor to obtain a valid license.
This article tech Supported by China OBD2,
No comments:
Post a Comment