Before using Xhorse Dolphin key cutting machine , you need to do these 4 steps of calibration.
-> Height level adjustment
-> Cutting calibration
->Clamp calibration M1
->Clamp calibration M2
Need:
One mobile phone (Android or IOS) and turn on Bluetooth
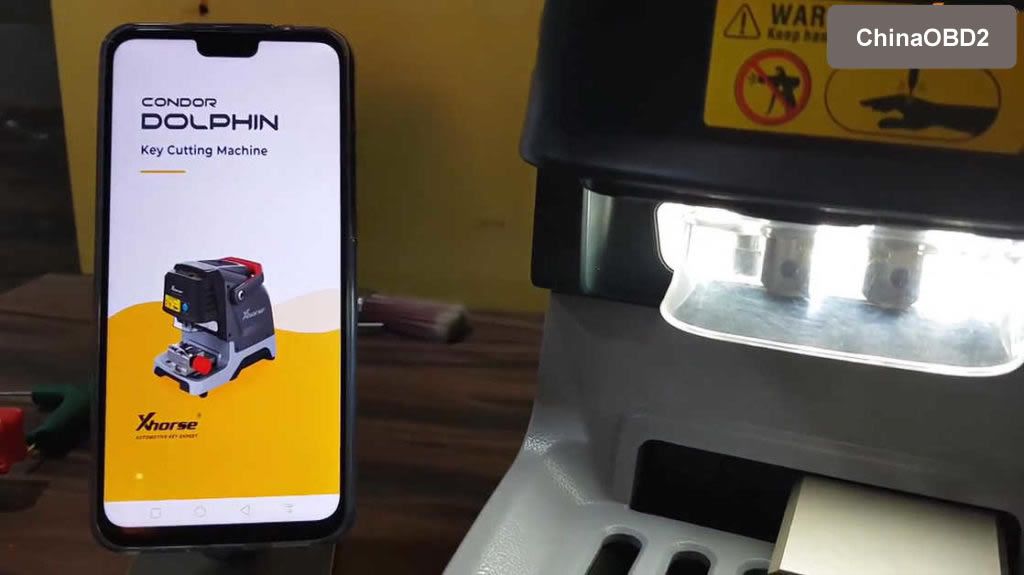
Complete download Xhorse Dolphin APP on your phone.

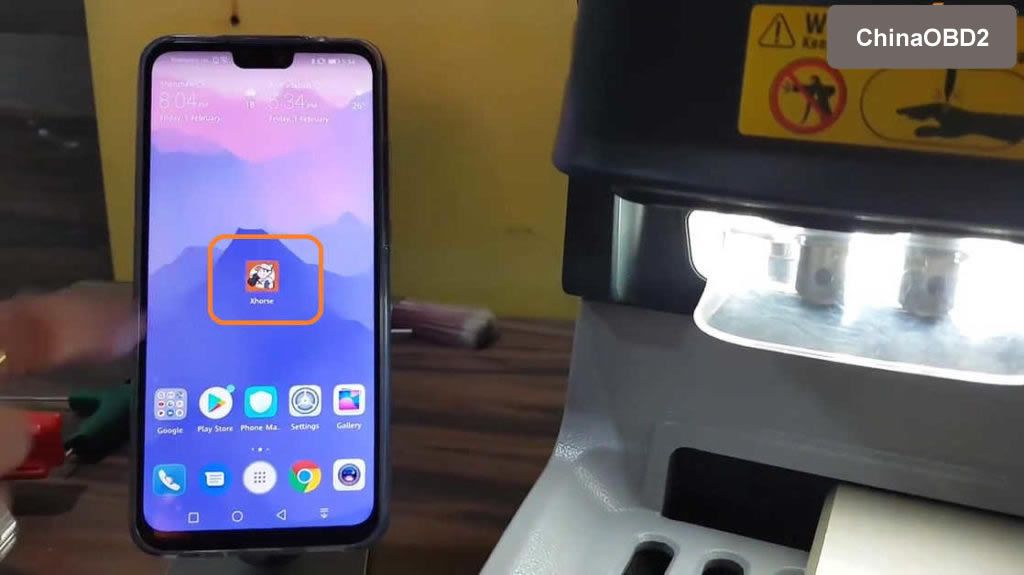
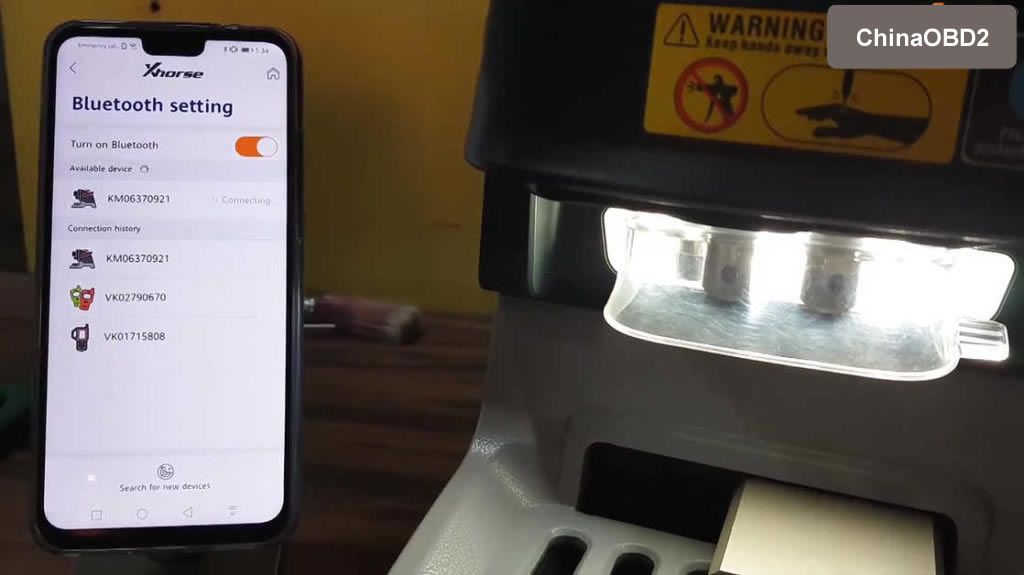
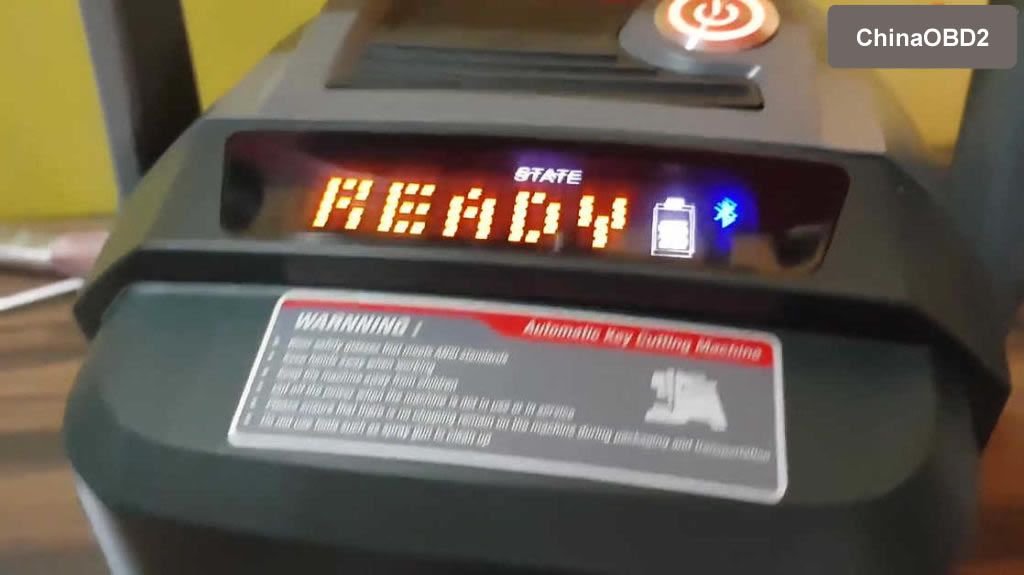
Click on “Select” to connect Bluetooth, and you can see the Bluetooth Icon on the Condor Dolphin machine display.
Guide:
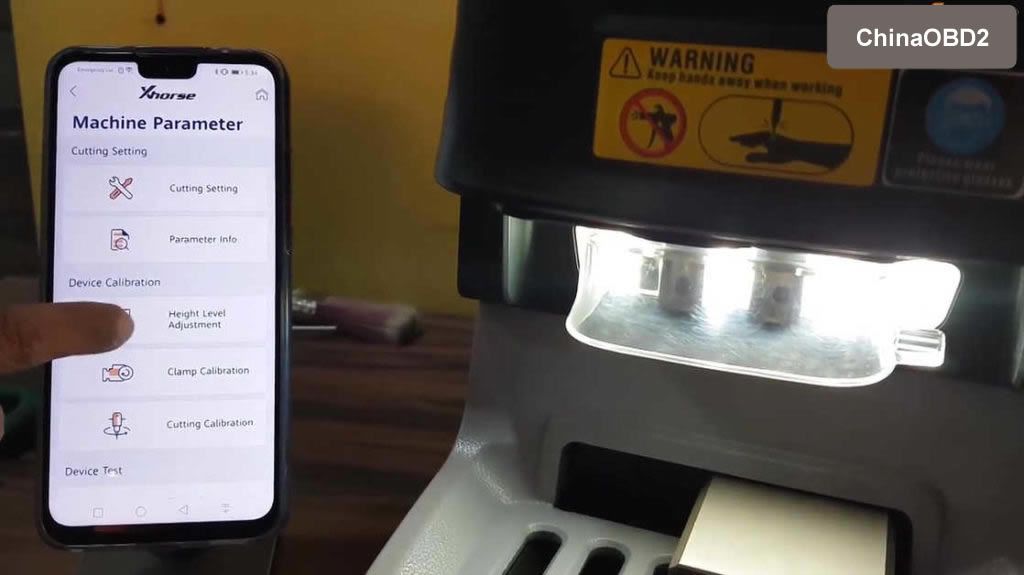
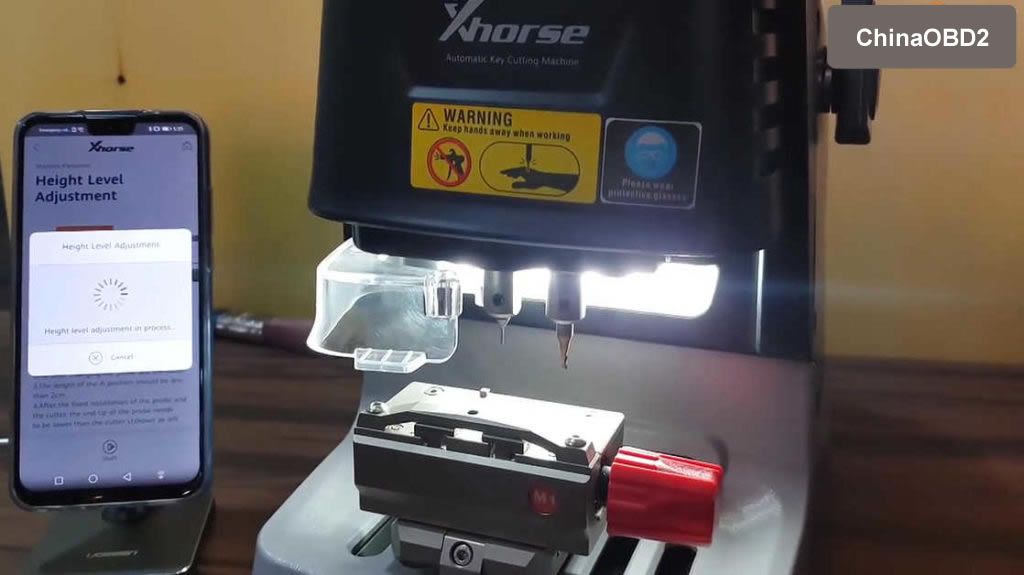
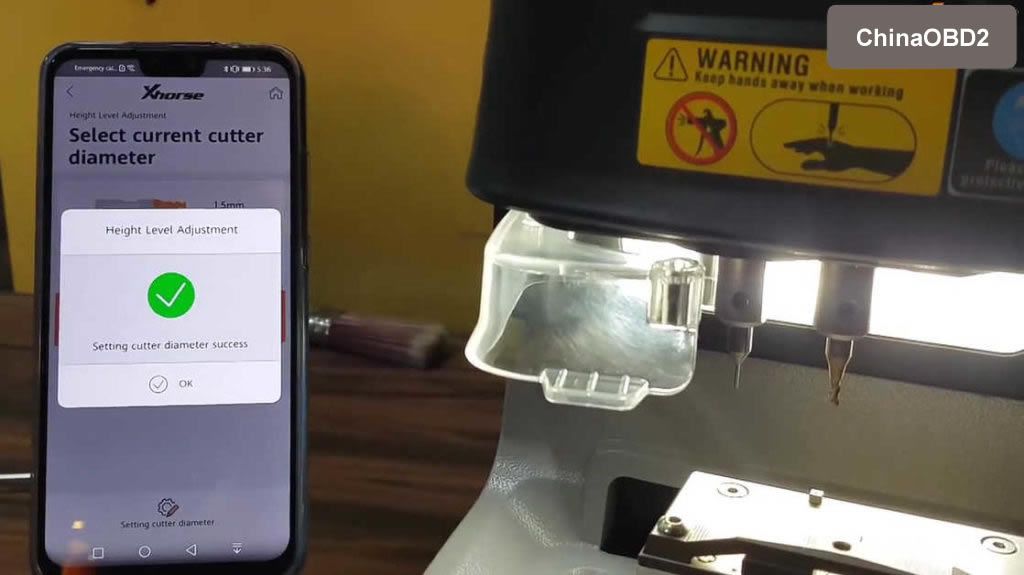
Part 1: Height level adjustment
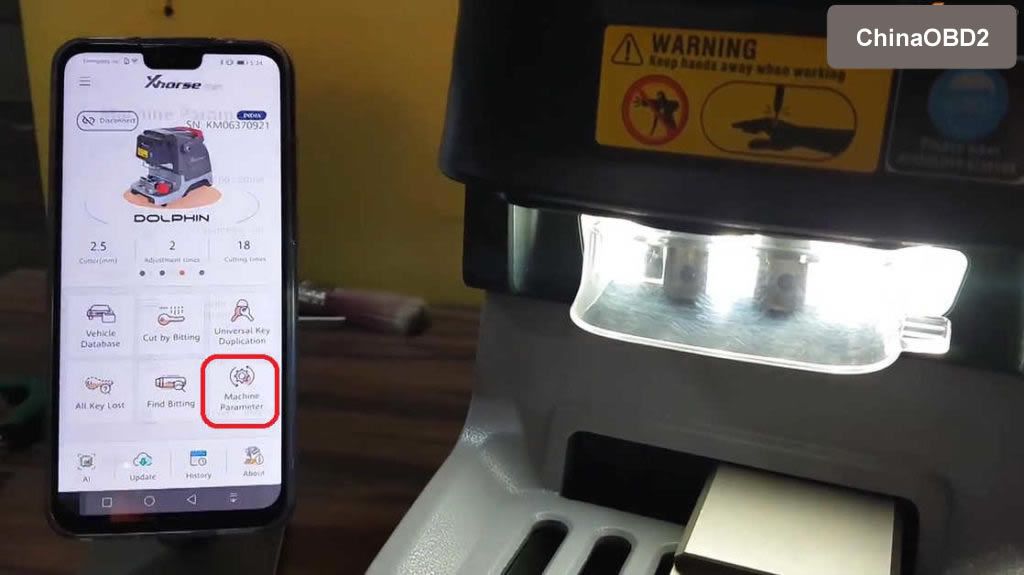
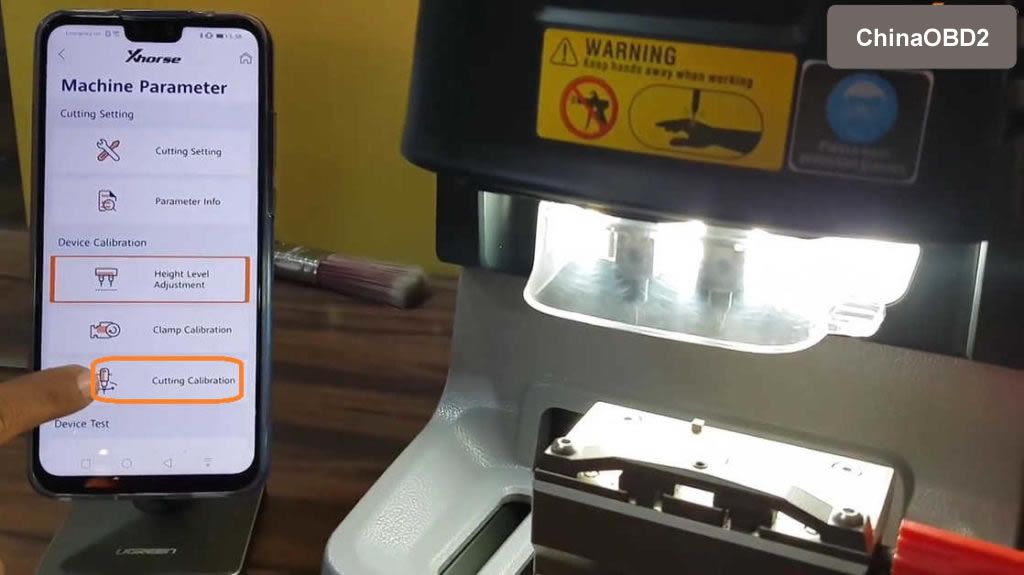
Select “Machine Parameter”.
Select “Height level adjustment”.
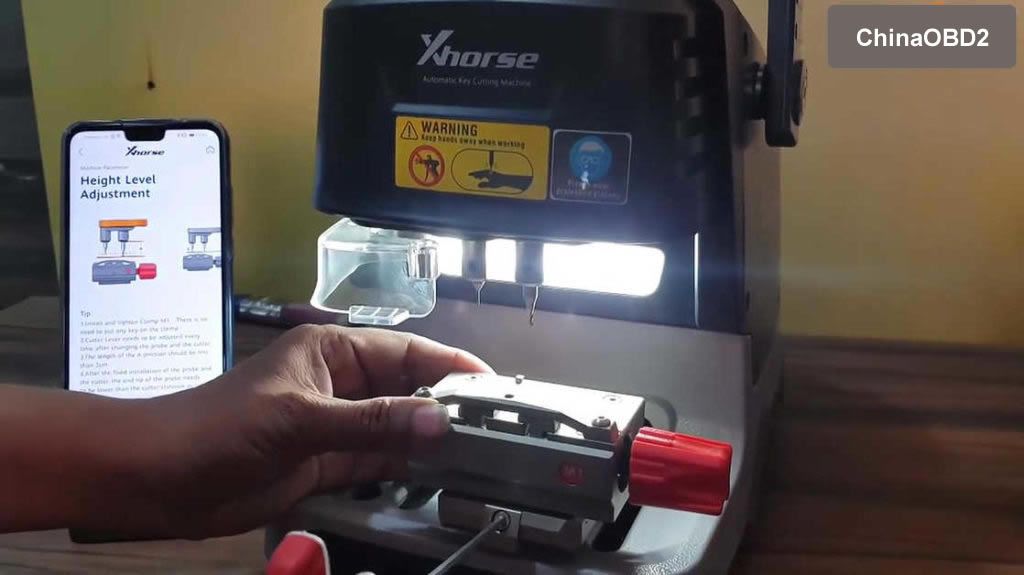
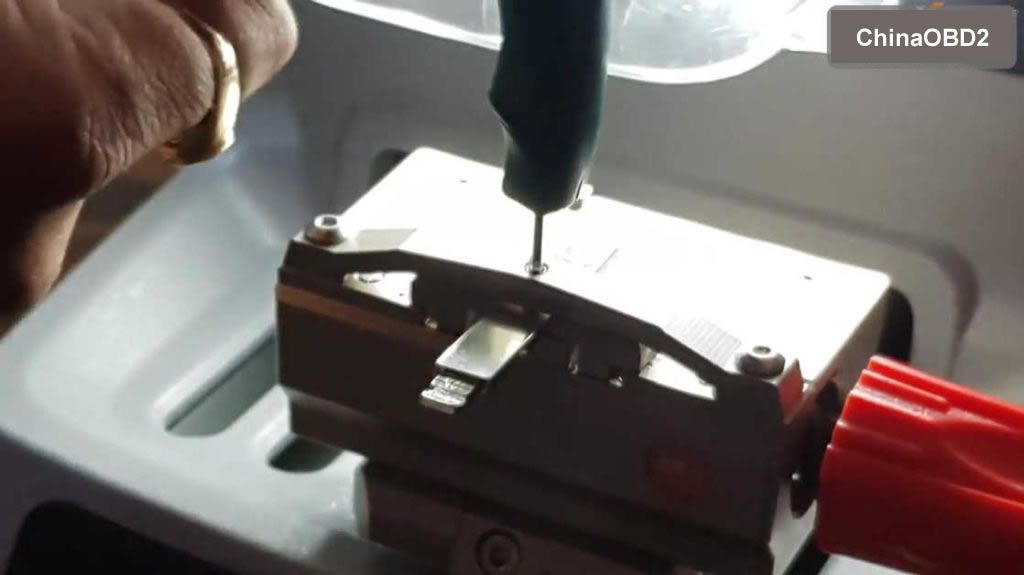
Tighten the probe and clamp using the screwdriver by following the on-screen tip.
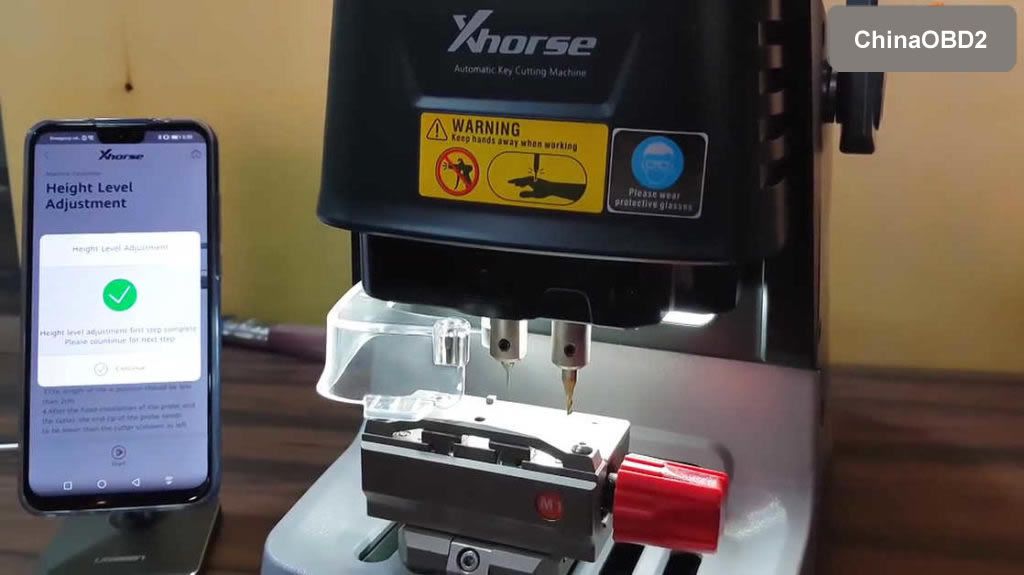
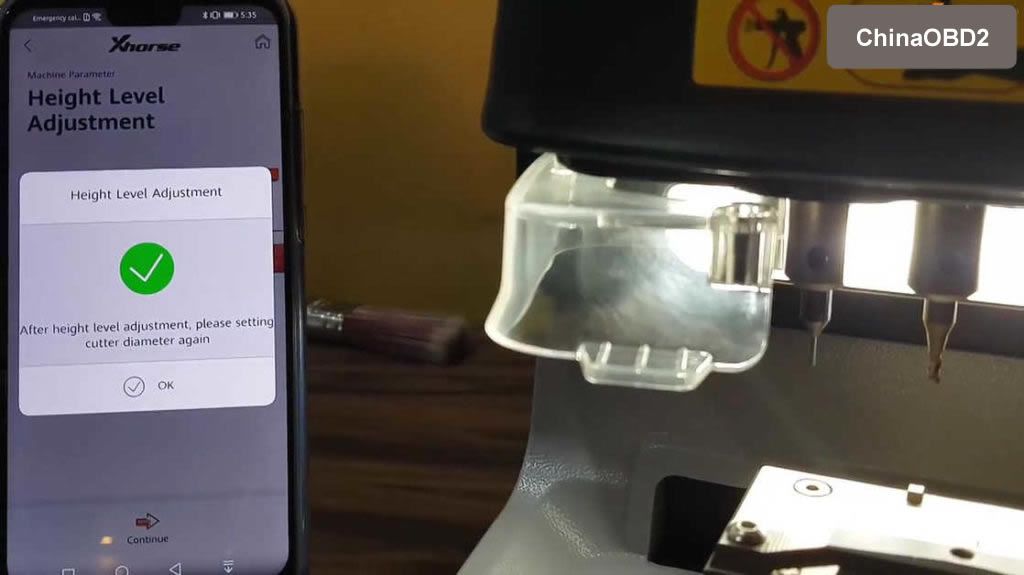
After that, select “Start” to adjust the height level until you can see it completed.
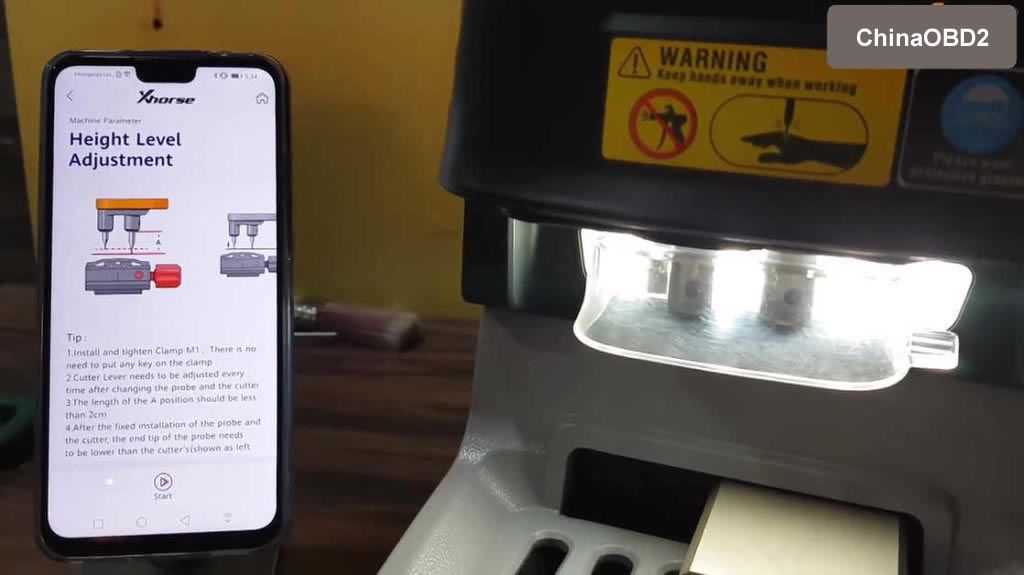
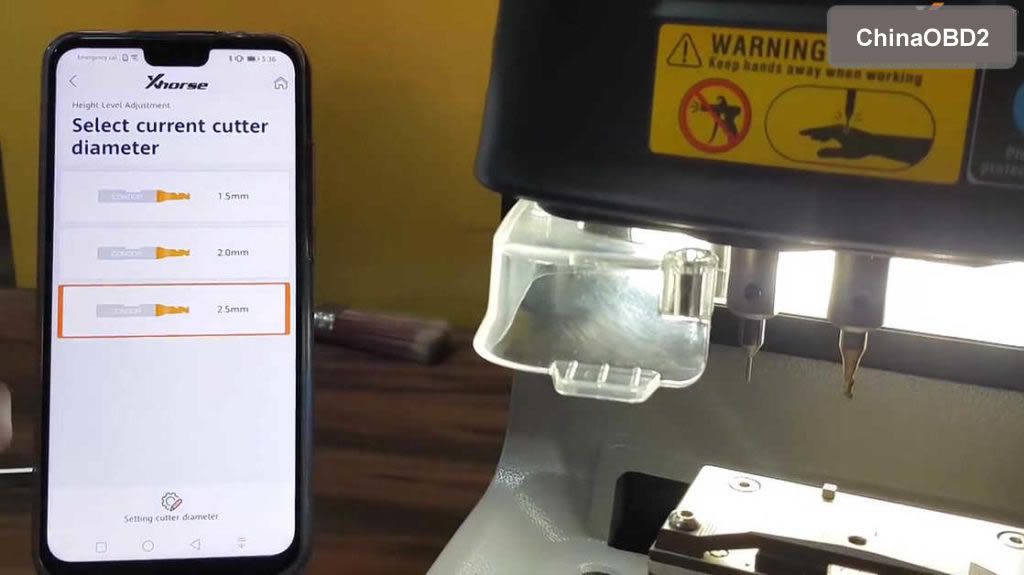
After height level adjustment. Please setting cutter diameter again!
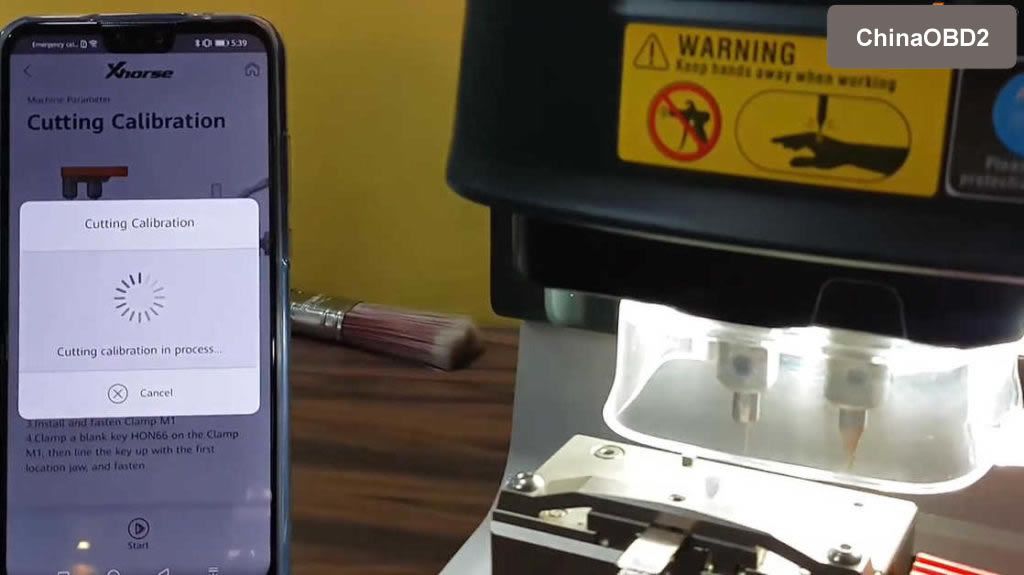
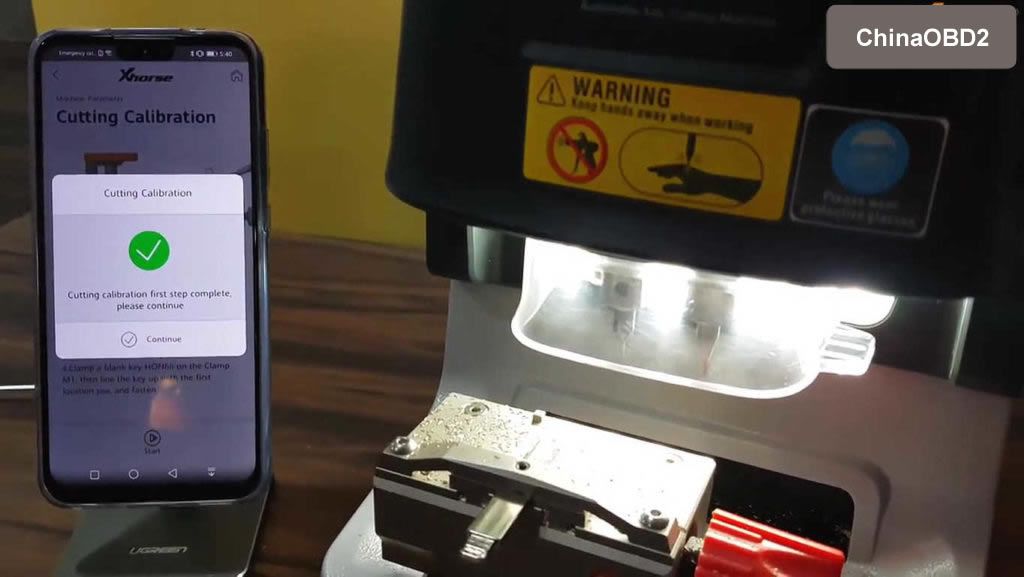
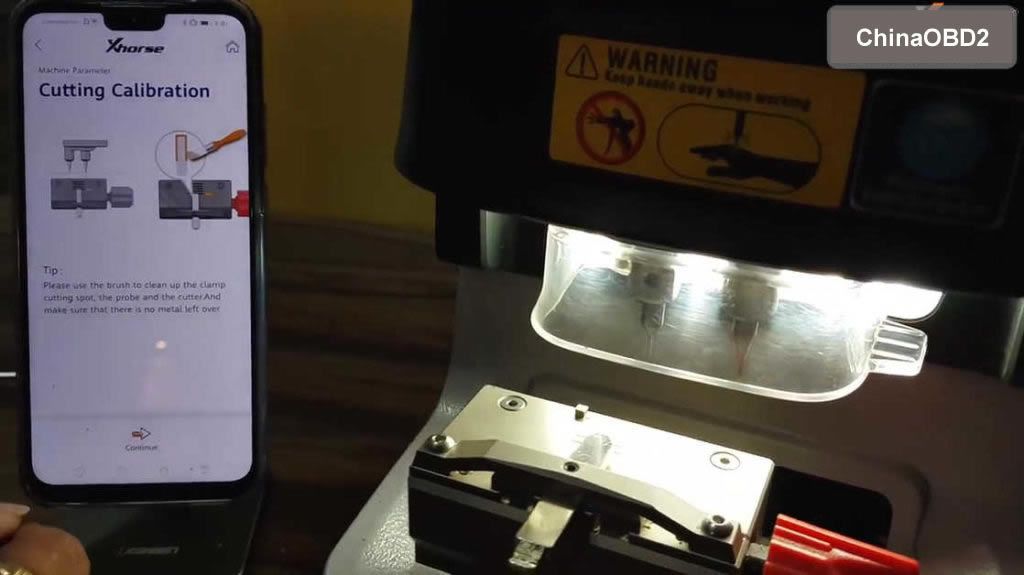
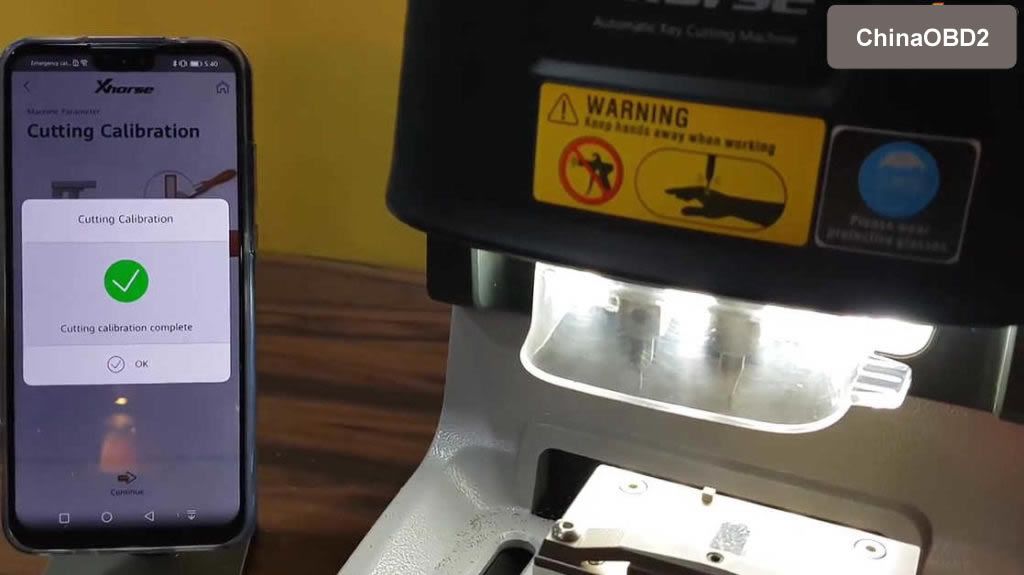
Part 2: Cutting calibration.
Back to select ” Cutting calibration”.
Please read the tip and follow it to do, then click on “Start”,
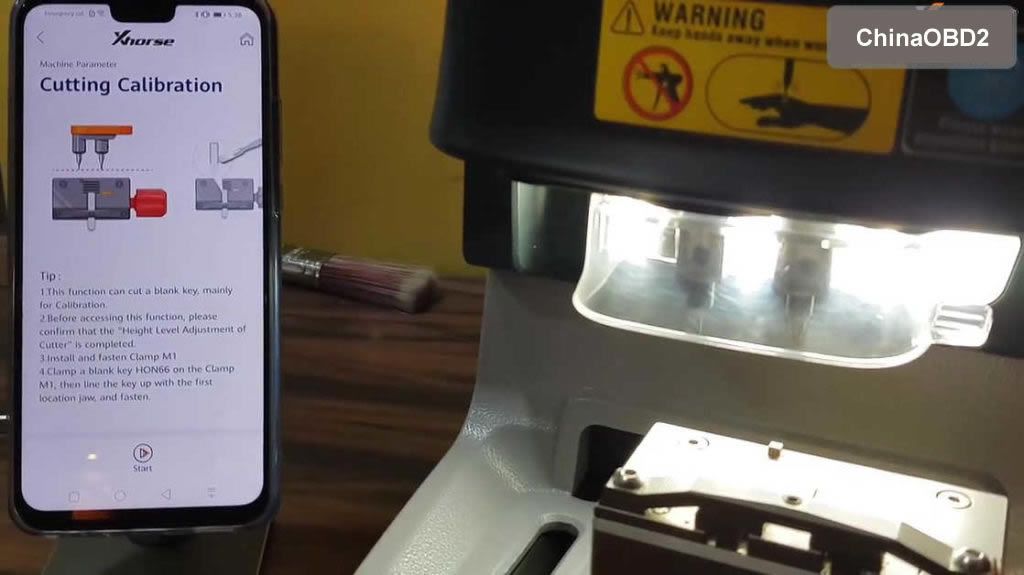

Select “Start” to calibrate.
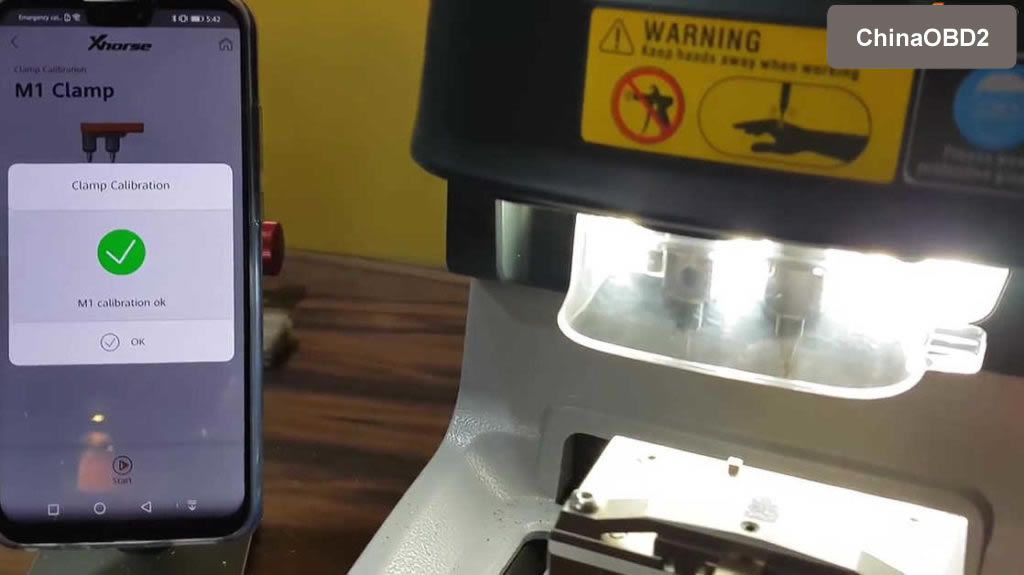
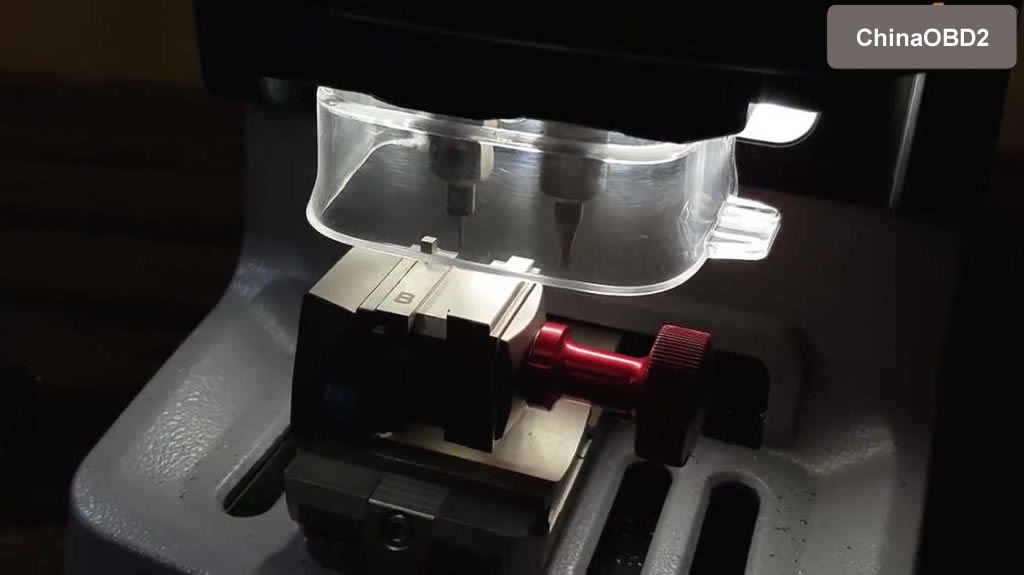
Part 3: Clamp calibration.
Back to select ” Clamp calibration”.
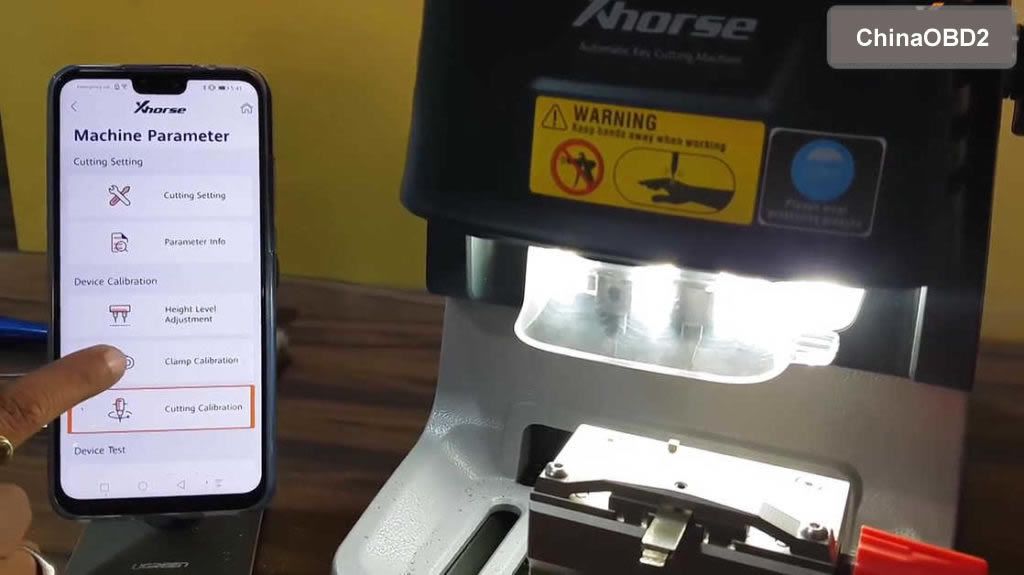
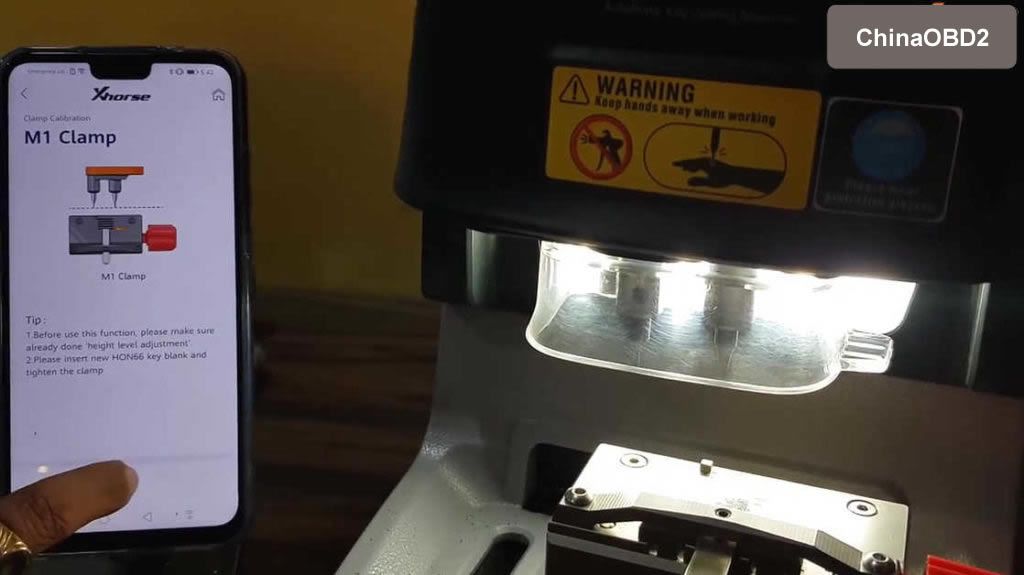
Select M1 clamp to calibrate.

Read tip :
- Before use this function, please make sure already done “Height level adjustmen”.
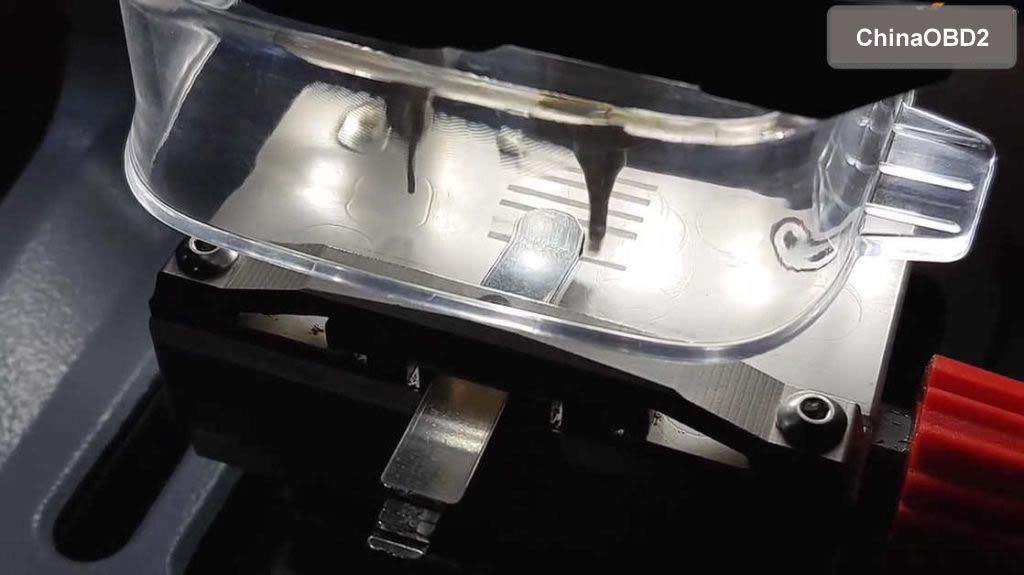
- Please insert new HON66 key blank and tighten the clamp.
Select “Start”.
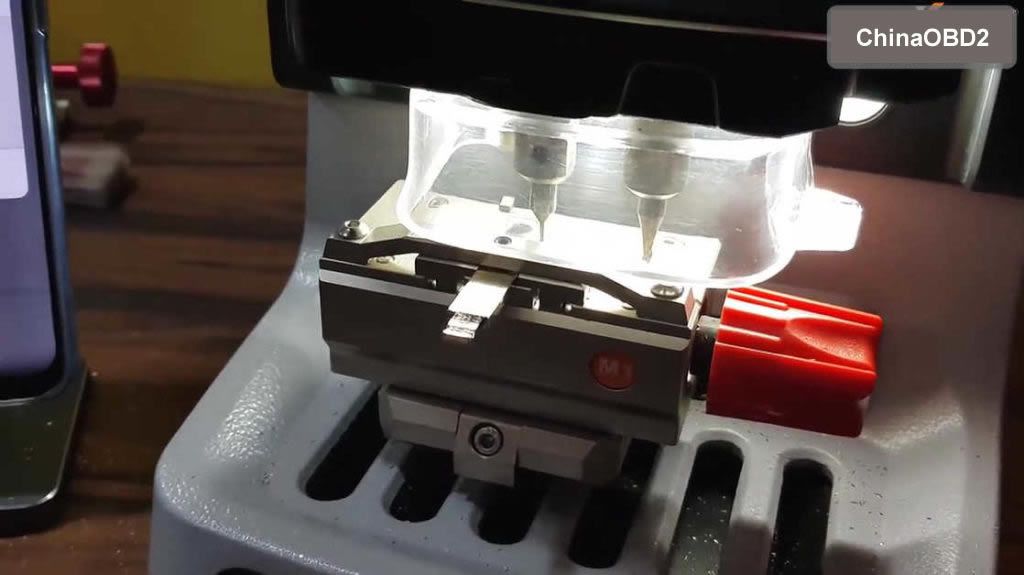
M1 clamp calibration ok.
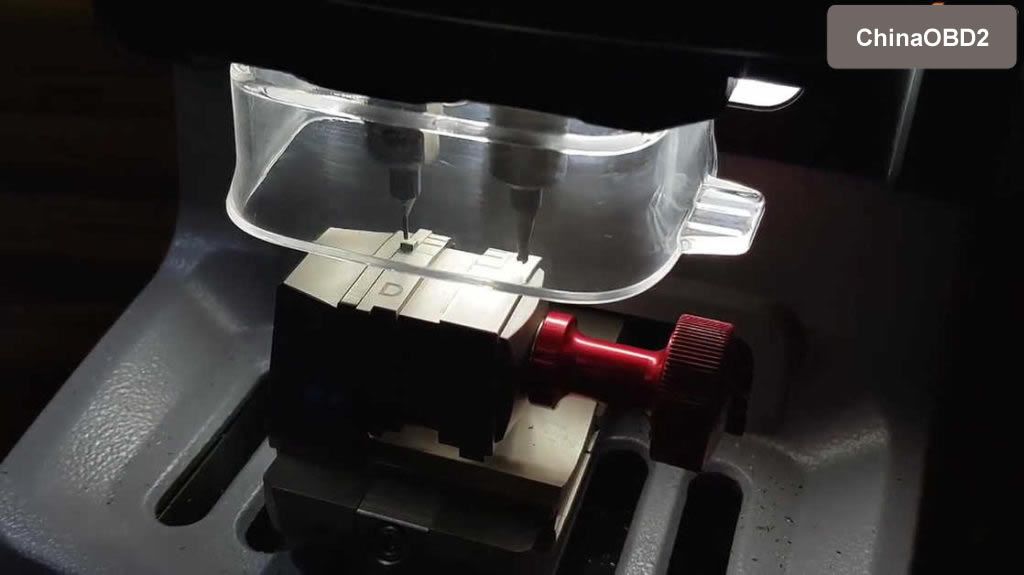
Change M2 clamp to calibrate.
Read the tip whether you did as it says.
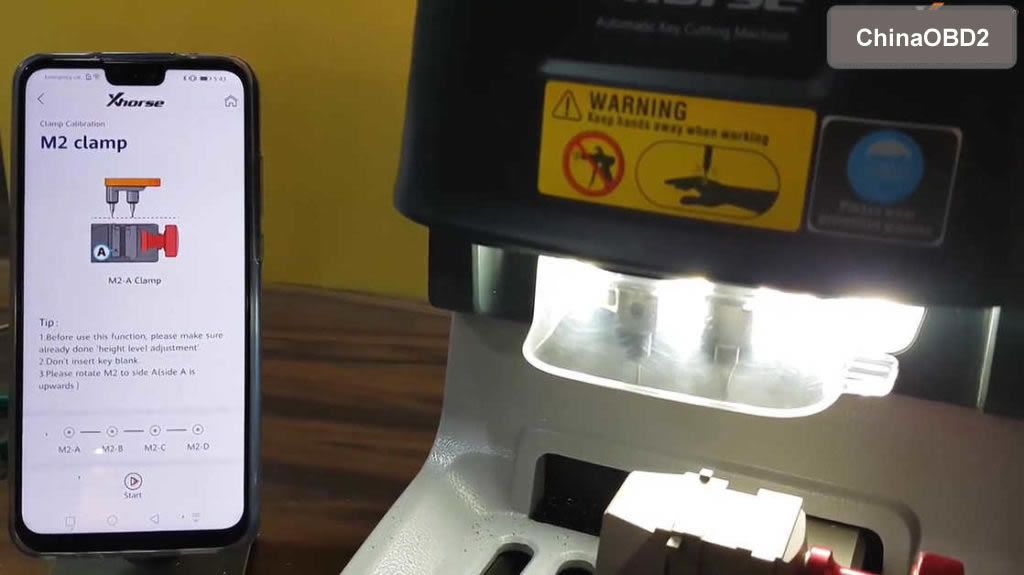
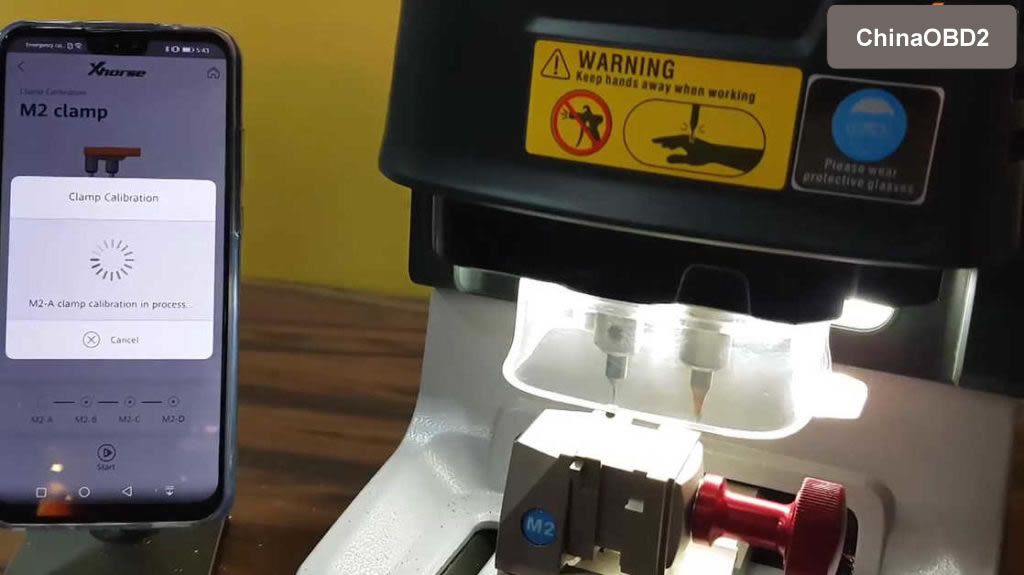
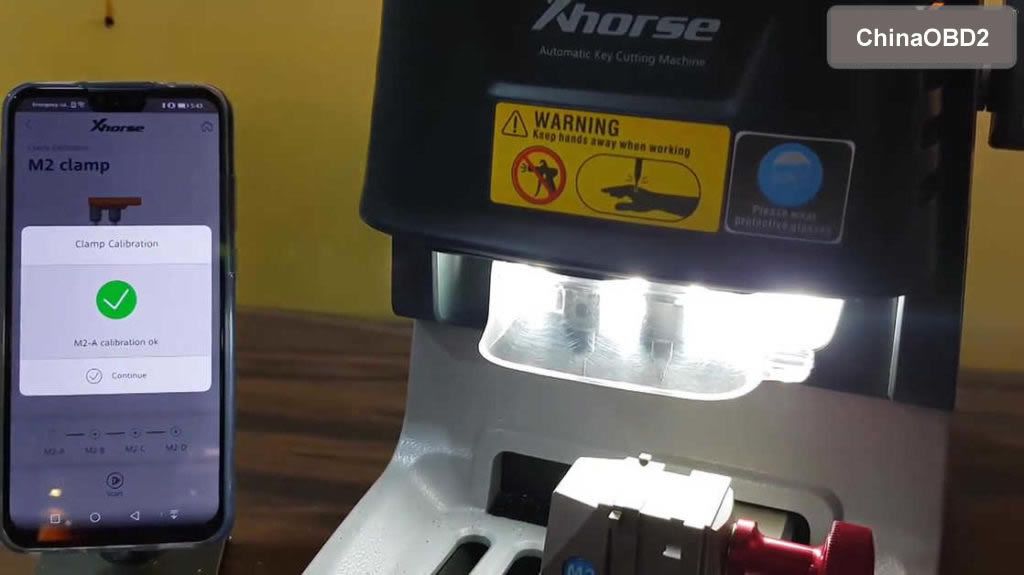
Continue for the M2-B, M2-C, M2-D calibration.
www.chinaobd2.com
No comments:
Post a Comment