This BMW E46 type pressure monitoring coding tutorial is written by dontpannic from e46zone forum,thanks for dontpannic’s excellent write up.Here I re-write and edit it and share the procedures for BMW E46 owner,hope it helps!
Facelifted E46’s use the MK60 DSC module which has a version of tyre pressure monitoring included which compares wheel speeds of all four wheels, and when there is a speed difference (usually meaning low or deflated tyre), illuminates a light on the dashboard.
Caution: Doing this interferes with the cars software and if you don’t do it correctly could cause issues with the control modules. Only proceed if you are confident!
NOTE: Coding this in without the reset / initialise button in your centre button box means you have to use INPA to reset the system after a pressure change.
What Tools You Need?
BMW INPA Cable
BMW INPA Software
BMW NCS Expert Software
Note:For more about BMW Coding and Programming projects,check here:BMW Coding & Programming
Procedures:
1.Connect BMW INPA cable to vehicle OBD port
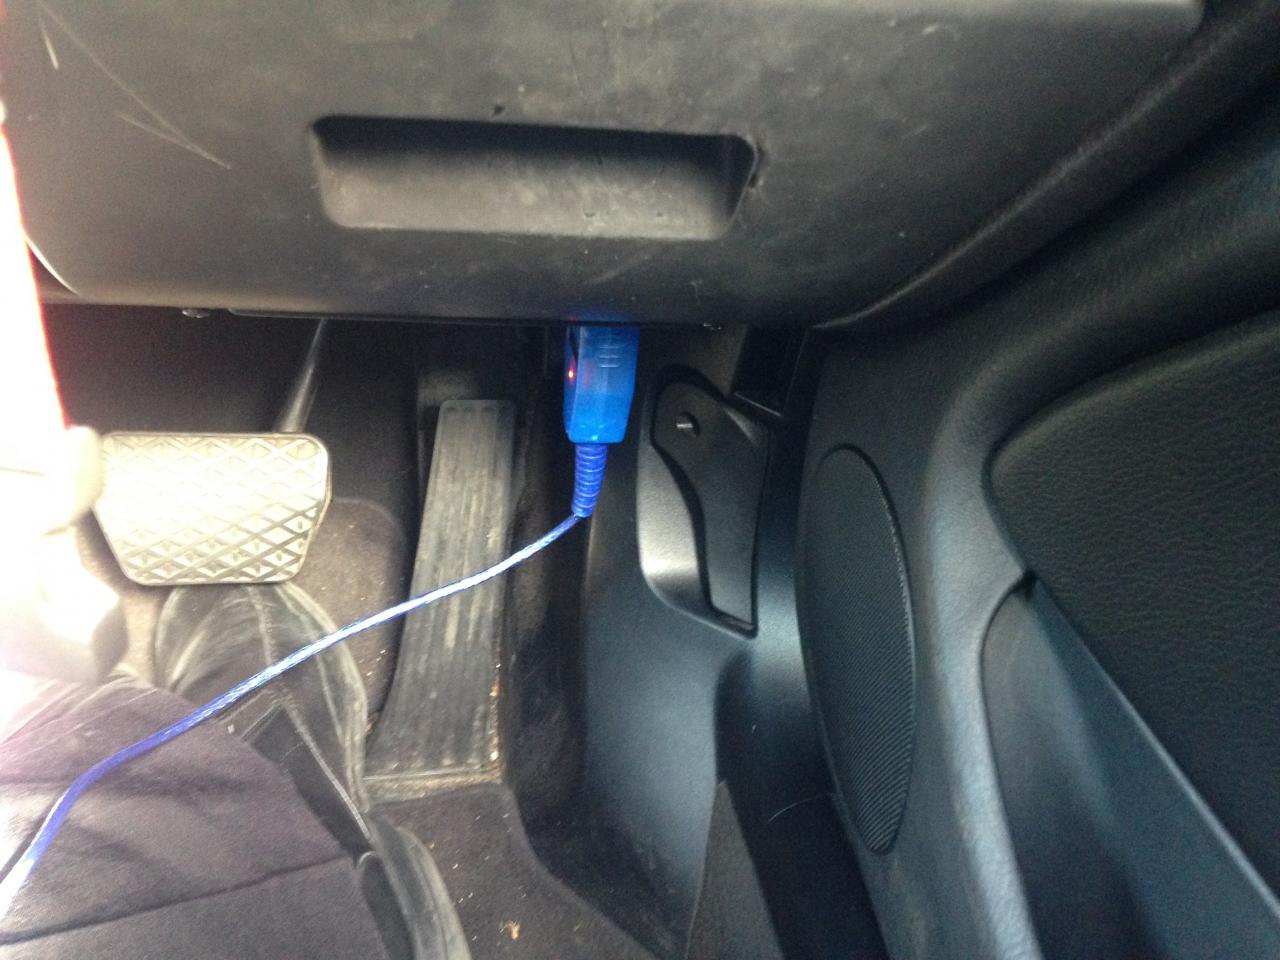
2.Start your engine
3.Open INPA, check you have communication.
4.Open NCSExpert and load your coding profile.
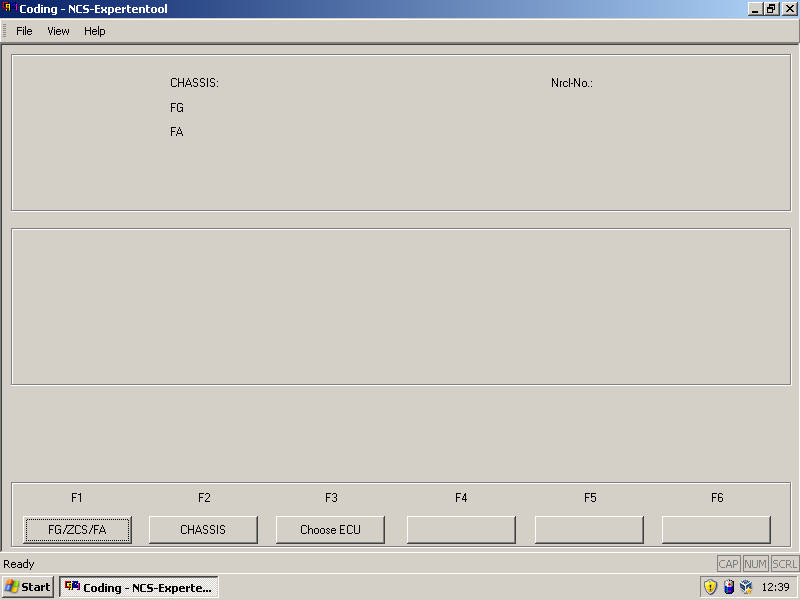
5.Click FG/ZCS/FA, then ZCS/FA f. ECU (F1 then F3)
6.Select E46
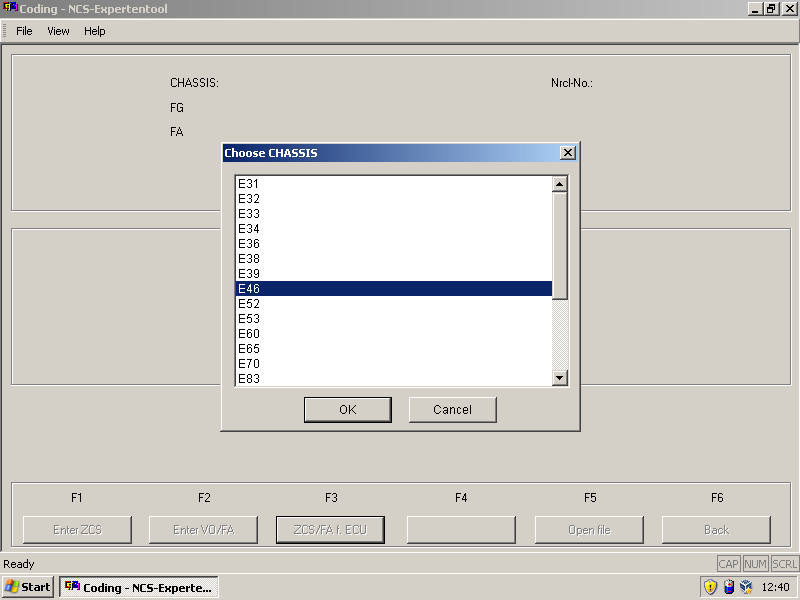
7.Select AKMB
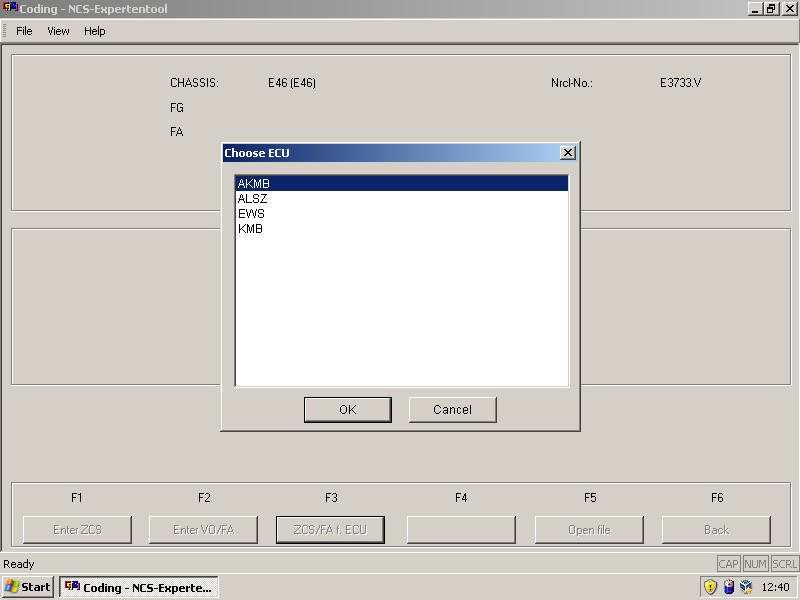
Wait for it to grab your VIN and FA. Then click Back.
8.Click Process ECU (F4)
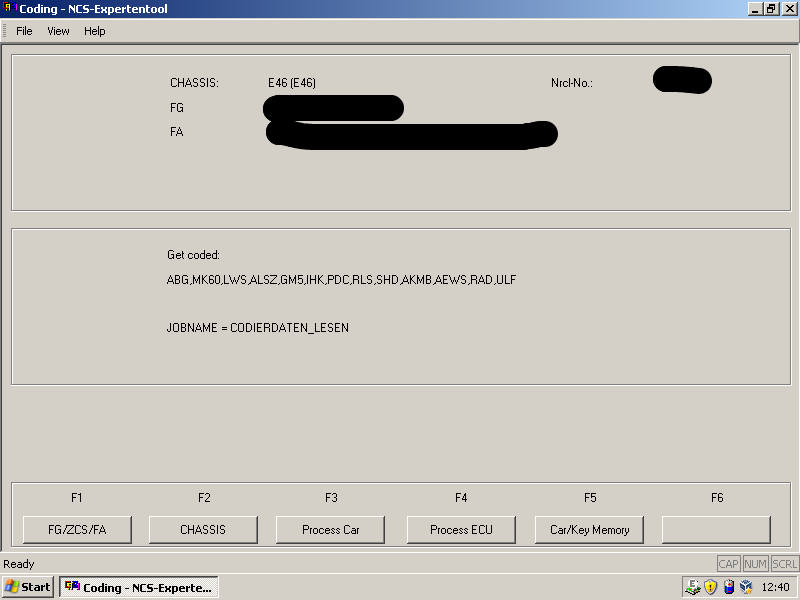
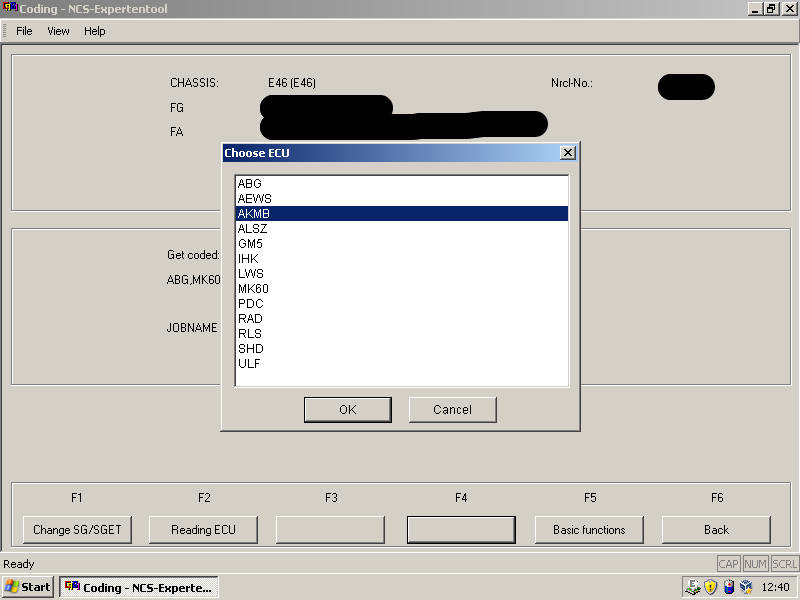
9.Select AKMB
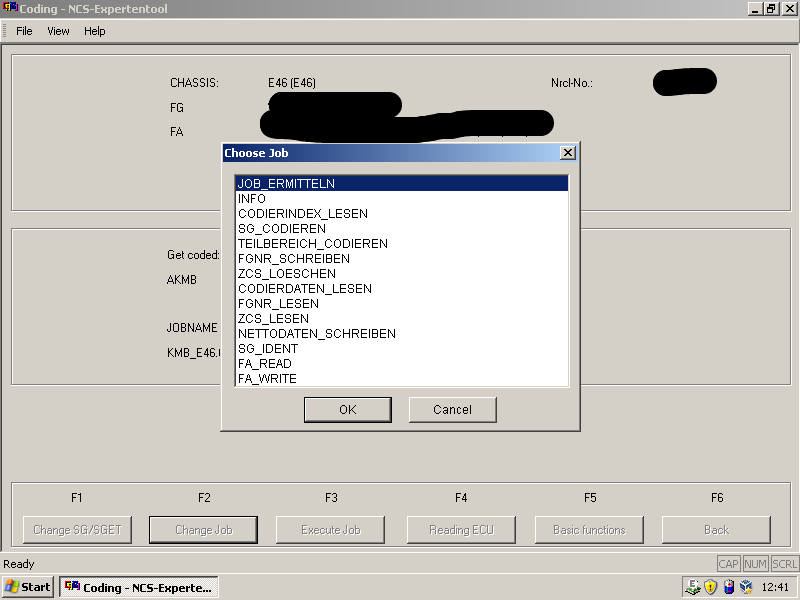
10.Click Change Job (F2) and make sure CODIERDATEN_LESEN is selected (to read from the module)
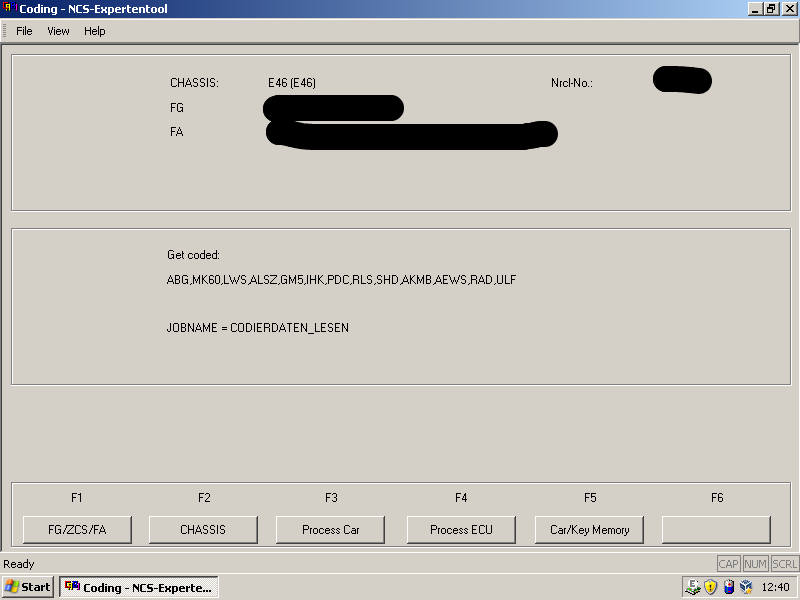
11.Click Execute Job (F3) and wait for ‘Coding ended’
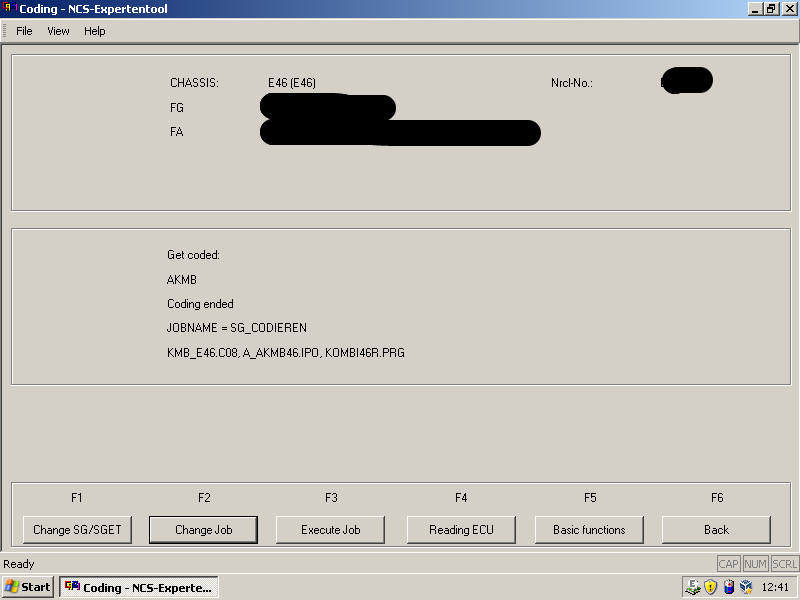
12.Navigate to C:\NCSEXPER\WORK\ and open FSW_PSW.TRC in Notepad or NCS Dummy.
You need to change the following values:
RDKS – nicht_aktiv -> aktiv
CAN_RDS – nicht_aktiv -> aktiv
AKUSTIK_RDKS – nicht_aktiv -> aktiv
WARN_MEDIUM_RDKS – piezo -> piezo (change to gong if your car has a gong)
You need to change the following values:
RDKS – nicht_aktiv -> aktiv
CAN_RDS – nicht_aktiv -> aktiv
AKUSTIK_RDKS – nicht_aktiv -> aktiv
WARN_MEDIUM_RDKS – piezo -> piezo (change to gong if your car has a gong)
Save the file as: FSW_PSW.MAN in the same folder (make sure it actually saves as a .MAN, not a .txt!)
13.Back in NCSExpert, click Change Job (F2), select “SG CODIEREN” and click Exectute Job (F3)
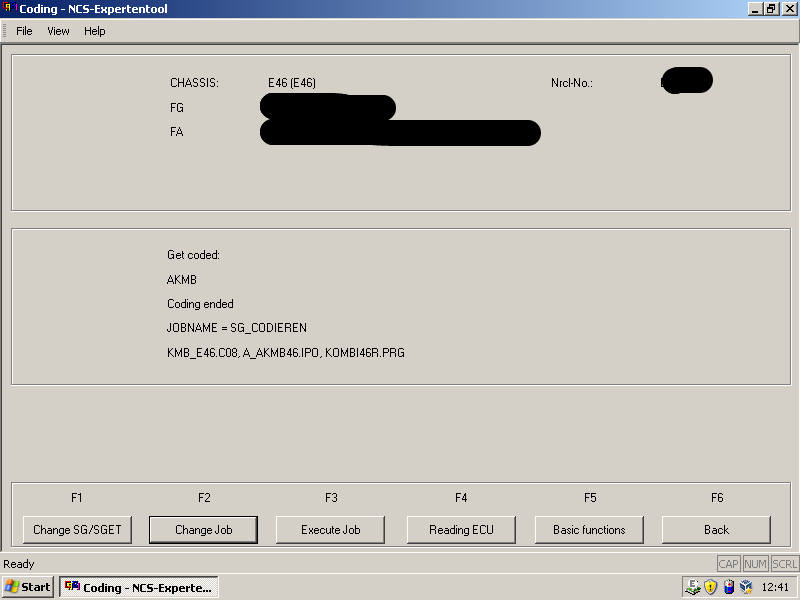
Wait for ‘Coding ended’. Your clocks will reset.
14.Click Change SG/SET, and now select MK60
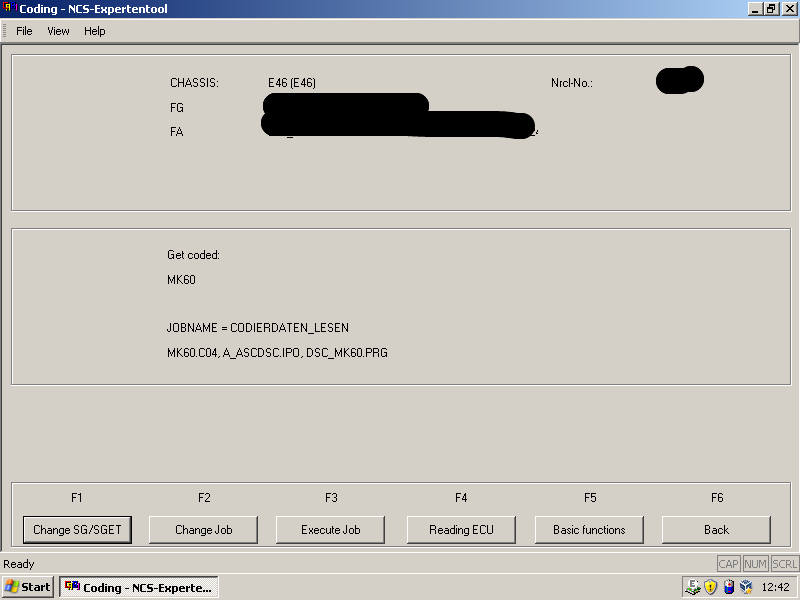
15.Ensure the JOBNAME is CODIERDATEN_LESEN (if not, hit Change Job (F2) and select it from the list)

16.Click Execute Job (F3) and wait for ‘Coding ended’
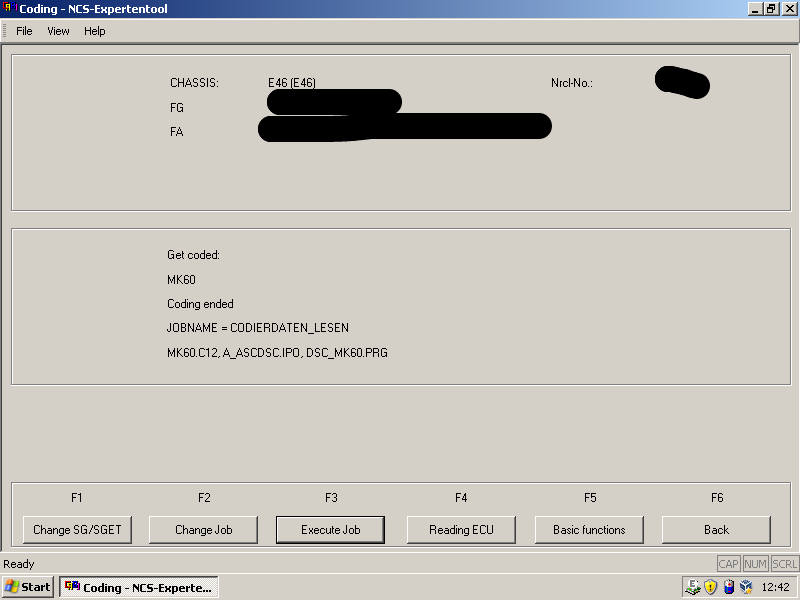
17.Navigate to C:\NCSEXPER\WORK\ and open FSW_PSW.TRC in Notepad or NCS Dummy.
You need to change the following values:
REIFENDRUCKWARNSYSTEM – nicht_aktiv -> aktiv
You need to change the following values:
REIFENDRUCKWARNSYSTEM – nicht_aktiv -> aktiv
Save the file as: FSW_PSW.MAN in the same folder (make sure it actually saves as a .MAN, not a .txt!)
18.Back in NCSExpert, click Change Job (F2), select “SG CODIEREN” and click Exectute Job (F3)
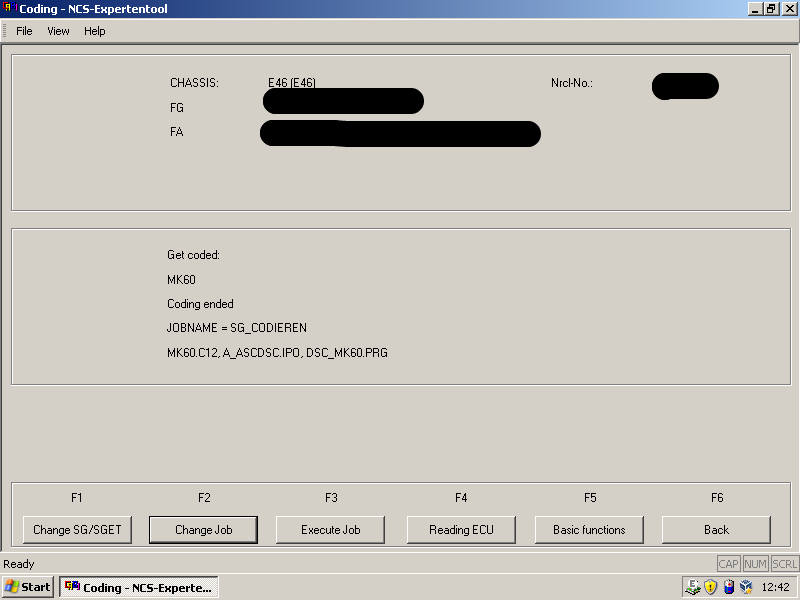
Wait for ‘Coding ended’. Your clocks will reset.
19.Turn off your engine, wait 10 seconds, then restart your engine.
You should notice the tyre pressure warning light illuminate amber, then red, then back to solid amber. This indicates the system needs calibrating.
You should notice the tyre pressure warning light illuminate amber, then red, then back to solid amber. This indicates the system needs calibrating.
To calibrate (Sorry, no screenshots). Open INPA, E46, Chassis, MK60, Activate, RPA, then Initialize RPA.
Turn off your engine. Wait 10 seconds, then restart the car.
You should now notice that when the ignition is switched on, the TPMS light will illuminate amber, then red, then switch off. Congratulations, the system is now functional. When the system detects that a tyre is losing / has lost pressure, the amber light will illuminate.
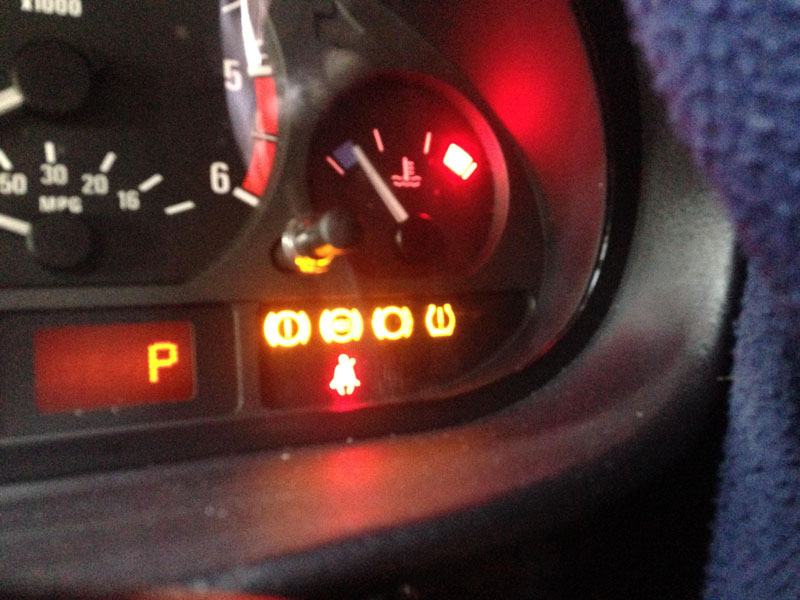
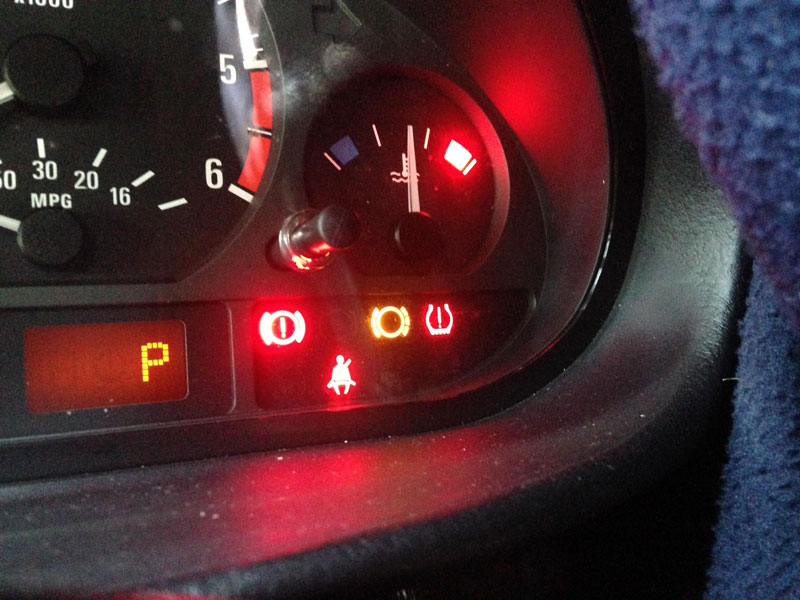
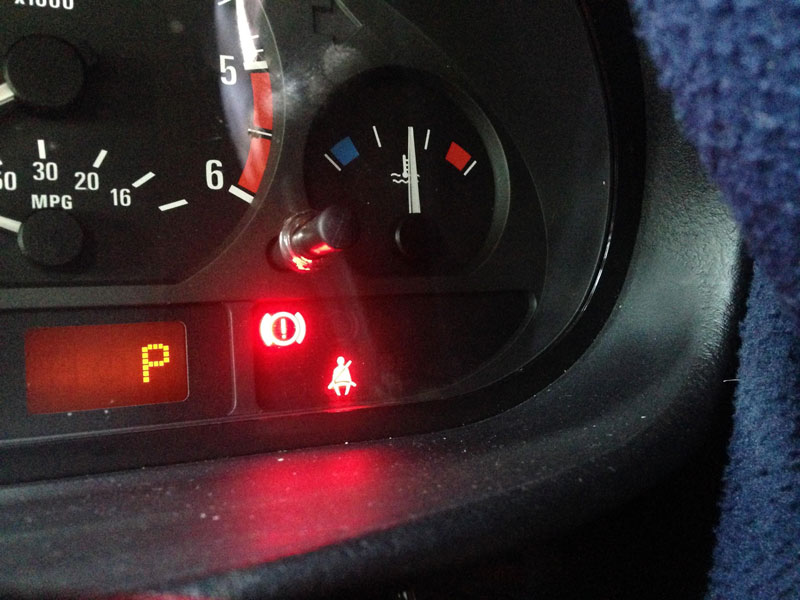
When you check and refill the tyres, you will need to reset the system. You can plug into INPA, E46, Chassis, MK60, Activate, RPA, then Initialize RPA to calibrate it.
For the more advanced retrofit, you can replace your button bar with one which contains a TPMS button, then run a wire between Pin 40 on the DSC plug, and Pin 2 on the button bar multiplug. This will enable you to reset the system with the OEM button.

No comments:
Post a Comment